
Page 204 - Enhancing CAD Drawings with Photoshop
P. 204
4386.book Page 188 Monday, November 15, 2004 3:27 PM
188 CHAPTER 5 PRESENTING PLANS
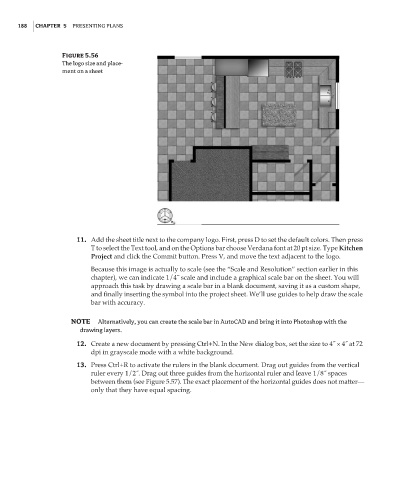
Figure 5.56
The logo size and place-
ment on a sheet
11. Add the sheet title next to the company logo. First, press D to set the default colors. Then press
T to select the Text tool, and on the Options bar choose Verdana font at 20 pt size. Type Kitchen
Project and click the Commit button. Press V, and move the text adjacent to the logo.
Because this image is actually to scale (see the “Scale and Resolution” section earlier in this
chapter), we can indicate 1/4˝ scale and include a graphical scale bar on the sheet. You will
approach this task by drawing a scale bar in a blank document, saving it as a custom shape,
and finally inserting the symbol into the project sheet. We’ll use guides to help draw the scale
bar with accuracy.
NOTE Alternatively, you can create the scale bar in AutoCAD and bring it into Photoshop with the
drawing layers.
12. Create a new document by pressing Ctrl+N. In the New dialog box, set the size to 4˝ × 4˝ at 72
dpi in grayscale mode with a white background.
13. Press Ctrl+R to activate the rulers in the blank document. Drag out guides from the vertical
ruler every 1/2˝. Drag out three guides from the horizontal ruler and leave 1/8˝ spaces
between them (see Figure 5.57). The exact placement of the horizontal guides does not matter—
only that they have equal spacing.