
Page 67 - Enhancing CAD Drawings with Photoshop
P. 67
4386.book Page 50 Monday, November 15, 2004 3:27 PM
50 CHAPTER 1 THE BASICS
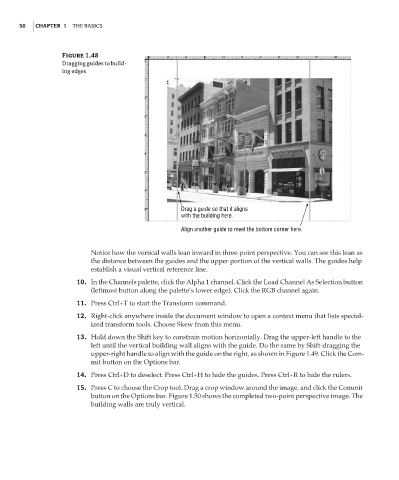
Figure 1.48
Dragging guides to build-
ing edges
Drag a guide so that it aligns
with the building here.
Align another guide to meet the bottom corner here.
Notice how the vertical walls lean inward in three-point perspective. You can see this lean as
the distance between the guides and the upper portion of the vertical walls. The guides help
establish a visual vertical reference line.
10. In the Channels palette, click the Alpha 1 channel. Click the Load Channel As Selection button
(leftmost button along the palette’s lower edge). Click the RGB channel again.
11. Press Ctrl+T to start the Transform command.
12. Right-click anywhere inside the document window to open a context menu that lists special-
ized transform tools. Choose Skew from this menu.
13. Hold down the Shift key to constrain motion horizontally. Drag the upper-left handle to the
left until the vertical building wall aligns with the guide. Do the same by Shift-dragging the
upper-right handle to align with the guide on the right, as shown in Figure 1.49. Click the Com-
mit button on the Options bar.
14. Press Ctrl+D to deselect. Press Ctrl+H to hide the guides. Press Ctrl+R to hide the rulers.
15. Press C to choose the Crop tool. Drag a crop window around the image, and click the Commit
button on the Options bar. Figure 1.50 shows the completed two-point perspective image. The
building walls are truly vertical.