
Page 64 - Enhancing CAD Drawings with Photoshop
P. 64
4386.book Page 47 Monday, November 15, 2004 3:27 PM
SIZING AND TRANSFORMING 47
2. Expand the document window by dragging its corner, giving the image more space within its
own window. You will need extra room in the next step.
3. Press Ctrl+A to select all. Then press Ctrl+T to start the Transform command. Handles appear
along the image border.
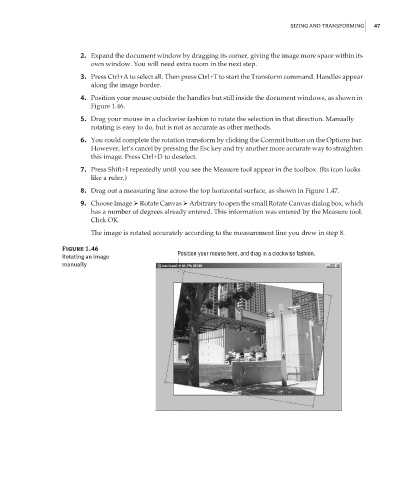
4. Position your mouse outside the handles but still inside the document windows, as shown in
Figure 1.46.
5. Drag your mouse in a clockwise fashion to rotate the selection in that direction. Manually
rotating is easy to do, but is not as accurate as other methods.
6. You could complete the rotation transform by clicking the Commit button on the Options bar.
However, let’s cancel by pressing the Esc key and try another more accurate way to straighten
this image. Press Ctrl+D to deselect.
7. Press Shift+I repeatedly until you see the Measure tool appear in the toolbox. (Its icon looks
like a ruler.)
8. Drag out a measuring line across the top horizontal surface, as shown in Figure 1.47.
9. Choose Image Rotate Canvas Arbitrary to open the small Rotate Canvas dialog box, which
has a number of degrees already entered. This information was entered by the Measure tool.
Click OK.
The image is rotated accurately according to the measurement line you drew in step 8.
Figure 1.46
Position your mouse here, and drag in a clockwise fashion.
Rotating an image
manually