
Page 61 - Enhancing CAD Drawings with Photoshop
P. 61
4386.book Page 44 Monday, November 15, 2004 3:27 PM
44 CHAPTER 1 THE BASICS
If you have something more elaborate in mind than just a simple geometric shape, you can draw
from libraries of custom shapes or create your own. You will work with custom shapes now.
1. Press D to set the default colors.
2. Press U, and click the Custom Shape tool on the Options bar.
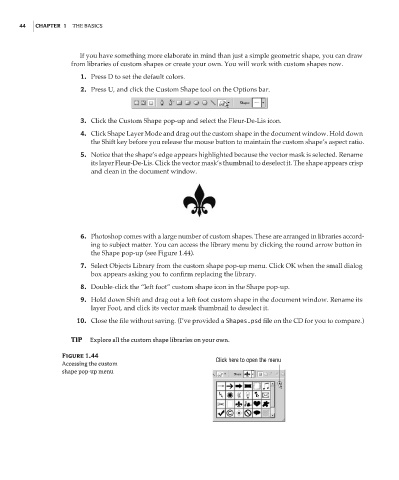
3. Click the Custom Shape pop-up and select the Fleur-De-Lis icon.
4. Click Shape Layer Mode and drag out the custom shape in the document window. Hold down
the Shift key before you release the mouse button to maintain the custom shape’s aspect ratio.
5. Notice that the shape’s edge appears highlighted because the vector mask is selected. Rename
its layer Fleur-De-Lis. Click the vector mask’s thumbnail to deselect it. The shape appears crisp
and clean in the document window.
6. Photoshop comes with a large number of custom shapes. These are arranged in libraries accord-
ing to subject matter. You can access the library menu by clicking the round arrow button in
the Shape pop-up (see Figure 1.44).
7. Select Objects Library from the custom shape pop-up menu. Click OK when the small dialog
box appears asking you to confirm replacing the library.
8. Double-click the “left foot” custom shape icon in the Shape pop-up.
9. Hold down Shift and drag out a left foot custom shape in the document window. Rename its
layer Foot, and click its vector mask thumbnail to deselect it.
10. Close the file without saving. (I’ve provided a Shapes.psd file on the CD for you to compare.)
TIP Explore all the custom shape libraries on your own.
Figure 1.44
Click here to open the menu
Accessing the custom
shape pop-up menu