
Page 60 - Enhancing CAD Drawings with Photoshop
P. 60
4386.book Page 43 Monday, November 15, 2004 3:27 PM
TEXT, SHAPES, AND PATHS 43
12. Drag a rounded rectangle around the word quick. As a path, this shape is not filled with color.
13. Click the Paths palette. You should see two paths listed here: Work Path, and Shape 1 Vector
Mask. The rounded rectangle you just created is the Work Path. The blue rectangle you made
earlier is the Shape 1 layer’s vector mask.
14. Manually create a new layer before you stroke or fill this path. Click the Layers palette, and click
the Create A New Layer button along the palette’s bottom edge to create Layer 1. Double-click
to rename Layer 1 to Stroked Path.
15. Click the Paths palette and notice Work Path is the only path listed. You will see only vector
mask paths in the Paths palette while the corresponding layer is current.
16. Click the foreground color swatch in the toolbox, and choose a green color in the Color Picker.
Click OK.
17. Press B to choose the Brush tool. Click the Preset Brushes pop-up, and select the 5-pixel round
hard brush.
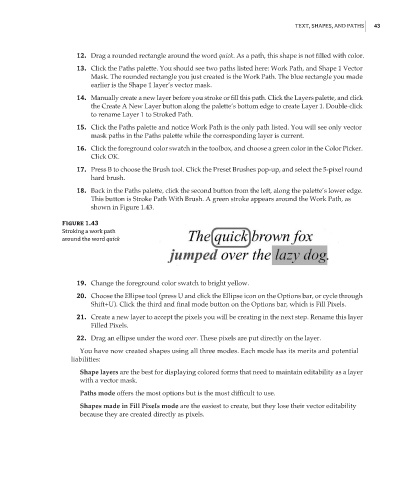
18. Back in the Paths palette, click the second button from the left, along the palette’s lower edge.
This button is Stroke Path With Brush. A green stroke appears around the Work Path, as
shown in Figure 1.43.
Figure 1.43
Stroking a work path
around the word quick
19. Change the foreground color swatch to bright yellow.
20. Choose the Ellipse tool (press U and click the Ellipse icon on the Options bar, or cycle through
Shift+U). Click the third and final mode button on the Options bar, which is Fill Pixels.
21. Create a new layer to accept the pixels you will be creating in the next step. Rename this layer
Filled Pixels.
22. Drag an ellipse under the word over. These pixels are put directly on the layer.
You have now created shapes using all three modes. Each mode has its merits and potential
liabilities:
Shape layers are the best for displaying colored forms that need to maintain editability as a layer
with a vector mask.
Paths mode offers the most options but is the most difficult to use.
Shapes made in Fill Pixels mode are the easiest to create, but they lose their vector editability
because they are created directly as pixels.