
Page 55 - Enhancing CAD Drawings with Photoshop
P. 55
4386.book Page 38 Monday, November 15, 2004 3:27 PM
38 CHAPTER 1 THE BASICS
7. Click the New Effect Layer button again. Click the Texture folder to expand its contents in the
filter thumbnail area.
8. Click the Texturizer filter thumbnail to apply it as your third effect layer. Change the Texture
to Canvas (if it’s not already), Scaling to 50, Relief to 6, and Light to Top Right.
9. When you are satisfied with the overall effect in the preview area, click OK to close the dialog
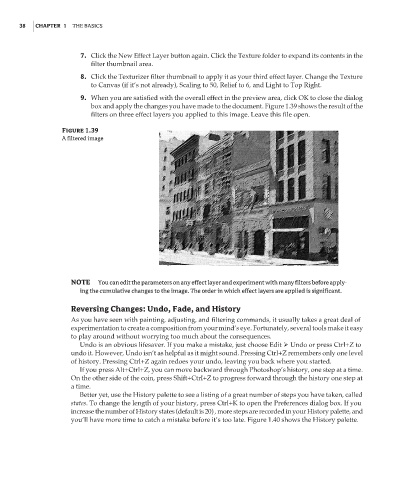
box and apply the changes you have made to the document. Figure 1.39 shows the result of the
filters on three effect layers you applied to this image. Leave this file open.
Figure 1.39
A filtered image
NOTE You can edit the parameters on any effect layer and experiment with many filters before apply-
ing the cumulative changes to the image. The order in which effect layers are applied is significant.
Reversing Changes: Undo, Fade, and History
As you have seen with painting, adjusting, and filtering commands, it usually takes a great deal of
experimentation to create a composition from your mind’s eye. Fortunately, several tools make it easy
to play around without worrying too much about the consequences.
Undo is an obvious lifesaver. If you make a mistake, just choose Edit Undo or press Ctrl+Z to
undo it. However, Undo isn’t as helpful as it might sound. Pressing Ctrl+Z remembers only one level
of history. Pressing Ctrl+Z again redoes your undo, leaving you back where you started.
If you press Alt+Ctrl+Z, you can move backward through Photoshop’s history, one step at a time.
On the other side of the coin, press Shift+Ctrl+Z to progress forward through the history one step at
a time.
Better yet, use the History palette to see a listing of a great number of steps you have taken, called
states. To change the length of your history, press Ctrl+K to open the Preferences dialog box. If you
increase the number of History states (default is 20) , more steps are recorded in your History palette, and
you’ll have more time to catch a mistake before it’s too late. Figure 1.40 shows the History palette.