
Page 58 - Enhancing CAD Drawings with Photoshop
P. 58
4386.book Page 41 Monday, November 15, 2004 3:27 PM
TEXT, SHAPES, AND PATHS 41
9. Change the color swatch to black if necessary. This color will initially be the same as your fore-
ground color, but after you make your first text object, the text color swatch will maintain the
same color you used the last time you made a text object.
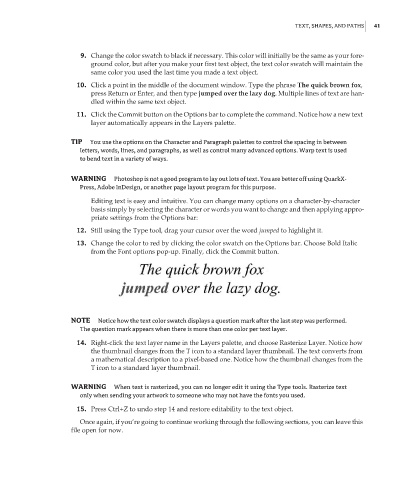
10. Click a point in the middle of the document window. Type the phrase The quick brown fox,
press Return or Enter, and then type jumped over the lazy dog. Multiple lines of text are han-
dled within the same text object.
11. Click the Commit button on the Options bar to complete the command. Notice how a new text
layer automatically appears in the Layers palette.
TIP You use the options on the Character and Paragraph palettes to control the spacing in between
letters, words, lines, and paragraphs, as well as control many advanced options. Warp text is used
to bend text in a variety of ways.
WARNING Photoshop is not a good program to lay out lots of text. You are better off using QuarkX-
Press, Adobe InDesign, or another page layout program for this purpose.
Editing text is easy and intuitive. You can change many options on a character-by-character
basis simply by selecting the character or words you want to change and then applying appro-
priate settings from the Options bar:
12. Still using the Type tool, drag your cursor over the word jumped to highlight it.
13. Change the color to red by clicking the color swatch on the Options bar. Choose Bold Italic
from the Font options pop-up. Finally, click the Commit button.
NOTE Notice how the text color swatch displays a question mark after the last step was performed.
The question mark appears when there is more than one color per text layer.
14. Right-click the text layer name in the Layers palette, and choose Rasterize Layer. Notice how
the thumbnail changes from the T icon to a standard layer thumbnail. The text converts from
a mathematical description to a pixel-based one. Notice how the thumbnail changes from the
T icon to a standard layer thumbnail.
WARNING When text is rasterized, you can no longer edit it using the Type tools. Rasterize text
only when sending your artwork to someone who may not have the fonts you used.
15. Press Ctrl+Z to undo step 14 and restore editability to the text object.
Once again, if you’re going to continue working through the following sections, you can leave this
file open for now.