
Page 203 - Excel 2007 Bible
P. 203
14_044039 ch10.qxp 11/21/06 11:03 AM Page 160
Part I
Getting Started with Excel
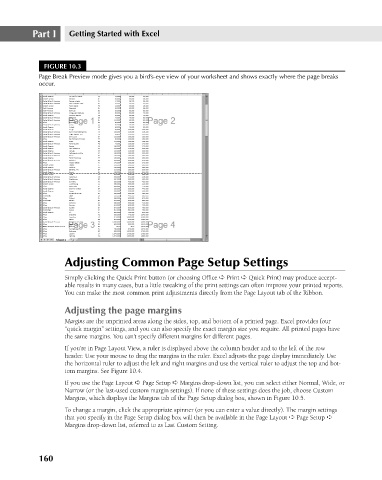
FIGURE 10.3
Page Break Preview mode gives you a bird’s-eye view of your worksheet and shows exactly where the page breaks
occur.
Adjusting Common Page Setup Settings
Simply clicking the Quick Print button (or choosing Office ➪ Print ➪ Quick Print) may produce accept-
able results in many cases, but a little tweaking of the print settings can often improve your printed reports.
You can make the most common print adjustments directly from the Page Layout tab of the Ribbon.
Adjusting the page margins
Margins are the unprinted areas along the sides, top, and bottom of a printed page. Excel provides four
“quick margin” settings, and you can also specify the exact margin size you require. All printed pages have
the same margins. You can’t specify different margins for different pages.
If you’re in Page Layout View, a ruler is displayed above the column header and to the left of the row
header. Use your mouse to drag the margins in the ruler. Excel adjusts the page display immediately. Use
the horizontal ruler to adjust the left and right margins and use the vertical ruler to adjust the top and bot-
tom margins. See Figure 10.4.
If you use the Page Layout ➪ Page Setup ➪ Margins drop-down list, you can select either Normal, Wide, or
Narrow (or the last-used custom margin settings). If none of these settings does the job, choose Custom
Margins, which displays the Margins tab of the Page Setup dialog box, shown in Figure 10.5.
To change a margin, click the appropriate spinner (or you can enter a value directly). The margin settings
that you specify in the Page Setup dialog box will then be available in the Page Layout ➪ Page Setup ➪
Margins drop-down list, referred to as Last Custom Setting.
160