
Page 486 - Excel 2007 Bible
P. 486
28_044039 ch22.qxp 11/21/06 11:12 AM Page 443
Enhancing Your Work with Pictures and Drawings
n You can control how objects appear on-screen in the Advanced tab of the Excel Options dialog
box (choose Office ➪ Excel Options). This setting appears in the section labeled Display Options
for This Workbook. Normally, the All option is selected under For Objects Show. You can hide all
objects by choosing Nothing (Hide Objects). Hiding objects may speed things up if your work-
sheet contains complex objects that take a long time to redraw.
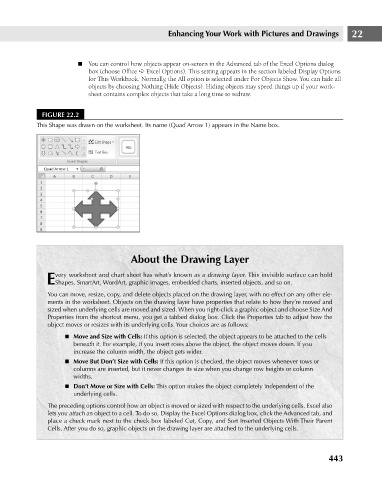
FIGURE 22.2
This Shape was drawn on the worksheet. Its name (Quad Arrow 1) appears in the Name box.
About the Drawing Layer 22
very worksheet and chart sheet has what’s known as a drawing layer. This invisible surface can hold
EShapes, SmartArt, WordArt, graphic images, embedded charts, inserted objects, and so on.
You can move, resize, copy, and delete objects placed on the drawing layer, with no effect on any other ele-
ments in the worksheet. Objects on the drawing layer have properties that relate to how they’re moved and
sized when underlying cells are moved and sized. When you right-click a graphic object and choose Size And
Properties from the shortcut menu, you get a tabbed dialog box. Click the Properties tab to adjust how the
object moves or resizes with its underlying cells. Your choices are as follows:
n Move and Size with Cells: If this option is selected, the object appears to be attached to the cells
beneath it. For example, if you insert rows above the object, the object moves down. If you
increase the column width, the object gets wider.
n Move But Don’t Size with Cells: If this option is checked, the object moves whenever rows or
columns are inserted, but it never changes its size when you change row heights or column
widths.
n Don’t Move or Size with Cells: This option makes the object completely independent of the
underlying cells.
The preceding options control how an object is moved or sized with respect to the underlying cells. Excel also
lets you attach an object to a cell. To do so, Display the Excel Options dialog box, click the Advanced tab, and
place a check mark next to the check box labeled Cut, Copy, and Sort Inserted Objects With Their Parent
Cells. After you do so, graphic objects on the drawing layer are attached to the underlying cells.
443