
Page 302 - Excel Progamming Weekend Crash Course
P. 302
r540629 ch21.qxd 9/2/03 9:35 AM Page 277
Session 21 — Advanced User Form Techniques 277
3. Change the size and position of the Label control, placing it in the top left corner
of the form.
4. With the Label control still selected, hold down the Shift key and then click the
TextBox control.
5. Select Format ➪ Align ➪ Tops to vertically align the Label and TextBox controls.
6. Select Format ➪ Make Same Size ➪ Height to make the text box the same height as
the label.
7. Select Format ➪ Horizontal Spacing ➪ Remove to bring the controls together.
8. Move one of the CheckBox controls to the desired location, below the Label con-
trol. Change its size, if necessary.
9. With the first CheckBox control still selected, press Shift and then click the other
three CheckBox controls. The first CheckBox control has white handles, and the
others have black handles.
10. Select Align ➪ Lefts to align all CheckBox controls with the first one.
11. Select Format ➪ Make Same Size ➪ Both to make all CheckBox controls the same
size.
12. Select Format ➪ Vertical Spacing ➪ Make Equal to make the vertical space between
the controls equal.
13. Select one of the CommandButton controls and then change its size as needed.
14. Press Shift and then click the other CommandButton control.
15. Select Format ➪ Make Same Size ➪ Both to make the two CommandButton controls
the same size.
16. Select Format ➪ Arrange Buttons ➪ Right to position the two CommandButton
controls along the right side of the form.
17. If necessary, drag the two controls (still both selected) to the final position.
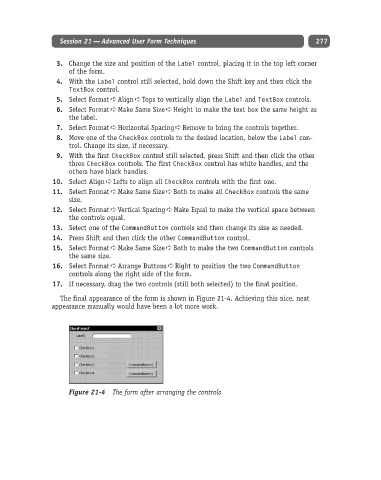
The final appearance of the form is shown in Figure 21-4. Achieving this nice, neat
appearance manually would have been a lot more work.
Figure 21-4 The form after arranging the controls