
Page 19 - Finite Element Analysis with ANSYS Workbench
P. 19
10 Chapter 1 Introduction
3. Geometry Create model geometry of the problem by
constructing lines, arcs, circles, surfaces,
etc. This step is normally time consuming
especially for complex configuration. An
imported CAD model file could help
reducing the effort.
4. Model Assign materials and generate a mesh by
discretizing the model into a number of
small elements. The process is performed
automatically.
5. Setup Specify boundary conditions such as the
constraints and loadings, as well as some
specific analysis settings.
6. Solution Solve the problem for solutions. This step
is executed automatically if the information
provided in the preceding steps is complete.
7. Results Display solutions in different forms, such as
color contours, vectors and surface plots.
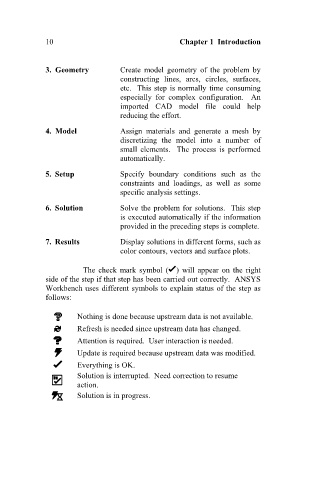
The check mark symbol ( ) will appear on the right
side of the step if that step has been carried out correctly. ANSYS
Workbench uses different symbols to explain status of the step as
follows:
Nothing is done because upstream data is not available.
Refresh is needed since upstream data has changed.
Attention is required. User interaction is needed.
Update is required because upstream data was modified.
Everything is OK.
Solution is interrupted. Need correction to resume
action.
Solution is in progress.