
Page 189 - Making things move_ DIY mechanisms for inventors, hobbyists, and artists
P. 189
Chapter 6 Options for Creating and Controlling Motion 167
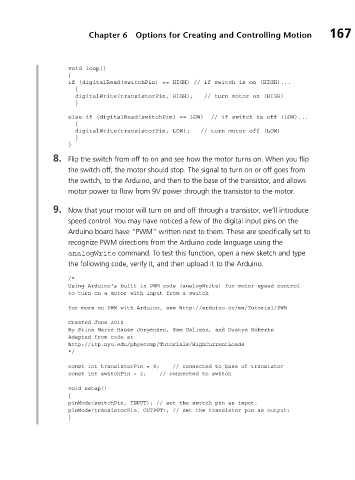
void loop()
{
if (digitalRead(switchPin) == HIGH) // if switch is on (HIGH)...
{
digitalWrite(transistorPin, HIGH); // turn motor on (HIGH)
}
else if (digitalRead(switchPin) == LOW) // if switch is off (LOW)...
{
digitalWrite(transistorPin, LOW); // turn motor off (LOW)
}
}
8. Flip the switch from off to on and see how the motor turns on. When you flip
the switch off, the motor should stop. The signal to turn on or off goes from
the switch, to the Arduino, and then to the base of the transistor, and allows
motor power to flow from 9V power through the transistor to the motor.
9. Now that your motor will turn on and off through a transistor, we’ll introduce
speed control. You may have noticed a few of the digital input pins on the
Arduino board have “PWM” written next to them. These are specifically set to
recognize PWM directions from the Arduino code language using the
analogWrite command. To test this function, open a new sketch and type
the following code, verify it, and then upload it to the Arduino.
/*
Using Arduino's built in PWM code (analogWrite) for motor speed control
to turn on a motor with input from a switch
for more on PWM with Arduino, see http://arduino.cc/en/Tutorial/PWM
Created June 2010
By Stina Marie Hasse Jorgensen, Sam Galison, and Dustyn Roberts
Adapted from code at
http://itp.nyu.edu/physcomp/Tutorials/HighCurrentLoads
*/
const int transistorPin = 9; // connected to base of transistor
const int switchPin = 2; // connected to switch
void setup()
{
pinMode(switchPin, INPUT); // set the switch pin as input:
pinMode(transistorPin, OUTPUT); // set the transistor pin as output:
}