Page 124 - Mastering SolidWorks
P. 124
|
                                                                    Working With reference geometry    93


                    Working with Reference Geometry
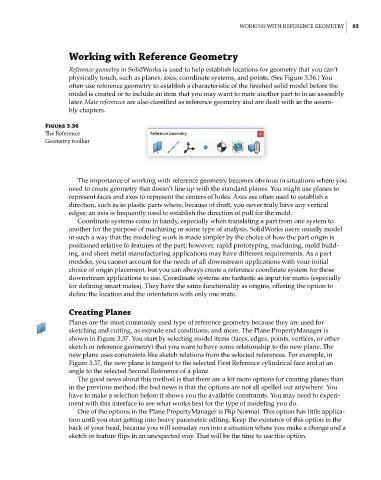
                    Reference geometry in SolidWorks is used to help establish locations for geometry that you can’t
                    physically touch, such as planes, axes, coordinate systems, and points. (See Figure 3.36.) You
                    often use reference geometry to establish a characteristic of the finished solid model before the
                    model is created or to include an item that you may want to mate another part to in an assembly
                    later. Mate references are also classified as reference geometry and are dealt with in the assem-
                    bly chapters.

              Figure 3.36
              The reference
              geometry toolbar


                       The importance of working with reference geometry becomes obvious in situations where you
                    need to create geometry that doesn’t line up with the standard planes. You might use planes to
                    represent faces and axes to represent the centers of holes. Axes are often used to establish a
                    direction, such as in plastic parts where, because of draft, you never truly have any vertical
                    edges; an axis is frequently used to establish the direction of pull for the mold.
                       Coordinate systems come in handy, especially when translating a part from one system to
                    another for the purpose of machining or some type of analysis. SolidWorks users usually model
                    in such a way that the modeling work is made simpler by the choice of how the part origin is
                    positioned relative to features of the part; however, rapid prototyping, machining, mold build-
                    ing, and sheet metal manufacturing applications may have different requirements. As a part
                    modeler, you cannot account for the needs of all downstream applications with your initial
                    choice of origin placement, but you can always create a reference coordinate system for those
                    downstream applications to use. Coordinate systems are fantastic as input for mates (especially
                    for defining smart mates). They have the same functionality as origins, offering the option to
                    define the location and the orientation with only one mate.

                    Creating Planes
                    Planes are the most commonly used type of reference geometry because they are used for
                    sketching and cutting, as extrude end conditions, and more. The Plane PropertyManager is
                    shown in Figure 3.37. You start by selecting model items (faces, edges, points, vertices, or other
                    sketch or reference geometry) that you want to have some relationship to the new plane. The
                    new plane uses constraints like sketch relations from the selected references. For example, in
                    Figure 3.37, the new plane is tangent to the selected First Reference cylindrical face and at an
                    angle to the selected Second Reference of a plane.
                       The good news about this method is that there are a lot more options for creating planes than
                    in the previous method; the bad news is that the options are not all spelled out anywhere. You
                    have to make a selection before it shows you the available constraints. You may need to experi-
                    ment with this interface to see what works best for the type of modeling you do.
                       One of the options in the Plane PropertyManager is Flip Normal. This option has little applica-
                    tion until you start getting into heavy parametric editing. Keep the existence of this option in the
                    back of your head, because you will someday run into a situation where you make a change and a
                    sketch or feature flips in an unexpected way. That will be the time to use this option.

