
Page 169 - Mastering SolidWorks
P. 169
|
138 CHAPTER 4 Creating Simple partS and drawingS
3. From the Drawings toolbar, click the Standard 3 View button, or through the menus,
choose Insert ➢ Drawing View ➢ Standard 3 View. If the Chapter4 SimpleMachinedPart
document does not appear in the list box in the PropertyManager, then use the Browse
button to select it. When you click the OK button, the three drawing views are created.
4. After creating views on the drawing, set up some fields in the format to be filled out
automatically when you bring the part into the drawing. Right-click anywhere on the
drawing sheet (on the paper) and select Edit Sheet Format.
5. Zoom in to the lower-right corner of the drawing. Notice that there are several variables
with the format $PRPSHEET:{Description}. These annotations are linked to custom
properties. Some of them have properties with values (such as the Scale note), and some of
the properties do not have values (such as the Description).
6. Add an annotation in the Drawn row, in the Date column. You can add annotations by
choosing Insert ➢ Annotations ➢ Note, or by activating the Annotations toolbar in the
CommandManager and clicking the Note button. Type today’s date as the text of the note.
CAUTION if you are using a Solidworks default template and a circle appears around your note,
use the text Format propertymanager that appears when you are creating a note, expand the Border
panel, and change the Circle option to none.
7. Add another note, this time to the Name column. Do not type anything in the note, but
click the Link to Properties button in the Note PropertyManager to create a link to a
custom property. In the Link To Property dialog box, click the Model In Drawing View
Specified option in Sheet Properties. Type user in the drop-down text box below the
option. This now accesses a custom property in a part or assembly that is put onto this
drawing and called “user,” and it puts the value where the note is placed.
8. To return to Edit Sheet mode (out of Edit Format mode), select Edit Sheet from the RMB
menu. A little text reminder message appears in the lower-right corner on the status bar to
indicate whether you are editing the Sheet or the Format.
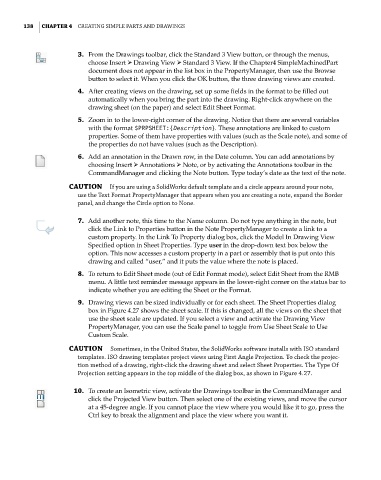
9. Drawing views can be sized individually or for each sheet. The Sheet Properties dialog
box in Figure 4.27 shows the sheet scale. If this is changed, all the views on the sheet that
use the sheet scale are updated. If you select a view and activate the Drawing View
PropertyManager, you can use the Scale panel to toggle from Use Sheet Scale to Use
Custom Scale.
CAUTION Sometimes, in the United States, the Solidworks software installs with iSO standard
templates. iSO drawing templates project views using First angle projection. to check the projec-
tion method of a drawing, right-click the drawing sheet and select Sheet properties. the type Of
projection setting appears in the top middle of the dialog box, as shown in Figure 4.27.
10. To create an Isometric view, activate the Drawings toolbar in the CommandManager and
click the Projected View button. Then select one of the existing views, and move the cursor
at a 45-degree angle. If you cannot place the view where you would like it to go, press the
Ctrl key to break the alignment and place the view where you want it.