
Page 292 - Mastering SolidWorks
P. 292
|
264 CHAPTER 8 Selecting Secondary FeatureS
When you double-click a helix feature, SolidWorks displays the dimensions on the screen,
which you can then double-click and change. The dimensions displayed this way aren’t as
organized as when using the PropertyManager, but it may be more convenient.
Establishing a Workflow
One workflow for all the Helix-type curves is as follows:
1. Draw a circle or select an existing circle.
2. Start the Helix command.
3. Set the options.
4. Click the green checkmark icon to accept the feature.
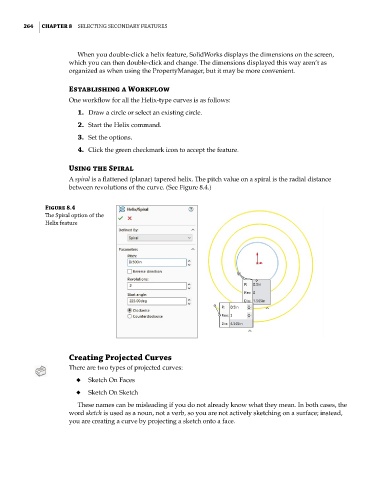
Using the Spiral
A spiral is a flattened (planar) tapered helix. The pitch value on a spiral is the radial distance
between revolutions of the curve. (See Figure 8.4.)
Figure 8.4
The Spiral option of the
Helix feature
Creating Projected Curves
There are two types of projected curves:
◆ Sketch On Faces
◆ Sketch On Sketch
These names can be misleading if you do not already know what they mean. In both cases, the
word sketch is used as a noun, not a verb, so you are not actively sketching on a surface; instead,
you are creating a curve by projecting a sketch onto a face.