
Page 288 - Mastering SolidWorks
P. 288
|
260 CHAPTER 7 Modeling with PriMary Features
22. Choose Insert ➢ Features ➢ Wrap. You should be prompted to select a plane or a sketch. Use
the flyout FeatureManager to select the sketch that you just created with the sketch text in it.
Next, select the cylindrical face of the boss to see a preview of the text wrapped onto the
face. If the text appears backward, select the Reverse Direction option in the Wrap
PropertyManager.
23. Select the Emboss option and assign a thickness of 0.025 inches. Click in the Pull Direction
selection box and select the Front plane. Click OK to accept the feature.
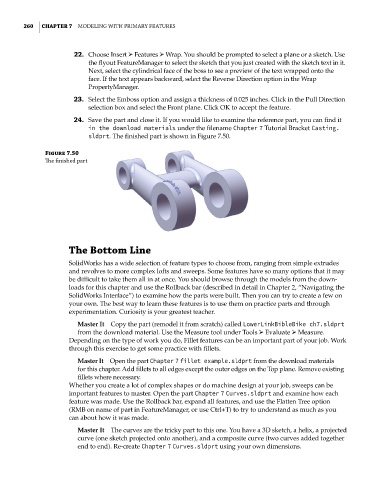
24. Save the part and close it. If you would like to examine the reference part, you can find it
in the download materials under the filename Chapter 7 Tutorial Bracket Casting.
sldprt. The finished part is shown in Figure 7.50.
Figure 7.50
The finished part
The Bottom Line
SolidWorks has a wide selection of feature types to choose from, ranging from simple extrudes
and revolves to more complex lofts and sweeps. Some features have so many options that it may
be difficult to take them all in at once. You should browse through the models from the down-
loads for this chapter and use the Rollback bar (described in detail in Chapter 2, “Navigating the
SolidWorks Interface”) to examine how the parts were built. Then you can try to create a few on
your own. The best way to learn these features is to use them on practice parts and through
experimentation. Curiosity is your greatest teacher.
Master It Copy the part (remodel it from scratch) called LowerLinkBibleBike ch7.sldprt
from the download material. Use the Measure tool under Tools ➢ Evaluate ➢ Measure.
Depending on the type of work you do, Fillet features can be an important part of your job. Work
through this exercise to get some practice with fillets.
Master It Open the part Chapter 7 fillet example.sldprt from the download materials
for this chapter. Add fillets to all edges except the outer edges on the Top plane. Remove existing
fillets where necessary.
Whether you create a lot of complex shapes or do machine design at your job, sweeps can be
important features to master. Open the part Chapter 7 Curves.sldprt and examine how each
feature was made. Use the Rollback bar, expand all features, and use the Flatten Tree option
(RMB on name of part in FeatureManager, or use Ctrl+T) to try to understand as much as you
can about how it was made.
Master It The curves are the tricky part to this one. You have a 3D sketch, a helix, a projected
curve (one sketch projected onto another), and a composite curve (two curves added together
end to end). Re-create Chapter 7 Curves.sldprt using your own dimensions.