Page 284 - Mastering SolidWorks
P. 284
|
        256   CHAPTER 7  Modeling with PriMary Features


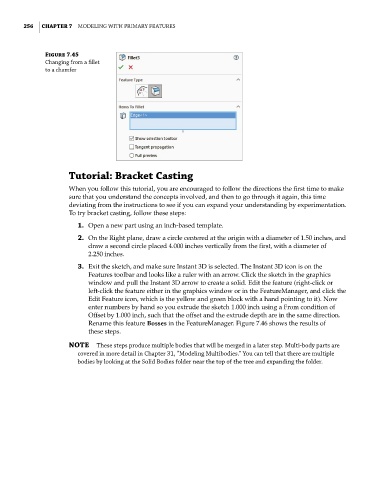
              Figure 7.45
              changing from a fillet
              to a chamfer


                    Tutorial: Bracket Casting

                    When you follow this tutorial, you are encouraged to follow the directions the first time to make
                    sure that you understand the concepts involved, and then to go through it again, this time
                    deviating from the instructions to see if you can expand your understanding by experimentation.
                    To try bracket casting, follow these steps:
                       1.  Open a new part using an inch-based template.

                       2.  On the Right plane, draw a circle centered at the origin with a diameter of 1.50 inches, and
                          draw a second circle placed 4.000 inches vertically from the first, with a diameter of
                          2.250 inches.

                       3.  Exit the sketch, and make sure Instant 3D is selected. The Instant 3D icon is on the
                          Features toolbar and looks like a ruler with an arrow. Click the sketch in the graphics
                          window and pull the Instant 3D arrow to create a solid. Edit the feature (right-click or
                          left-click the feature either in the graphics window or in the FeatureManager, and click the
                          Edit Feature icon, which is the yellow and green block with a hand pointing to it). Now
                          enter numbers by hand so you extrude the sketch 1.000 inch using a From condition of
                          Offset by 1.000 inch, such that the offset and the extrude depth are in the same direction.
                          Rename this feature Bosses in the FeatureManager. Figure 7.46 shows the results of
                          these steps.
                    NOTE  these steps produce multiple bodies that will be merged in a later step. Multi-body parts are
                       covered in more detail in chapter 31, “Modeling Multibodies.” you can tell that there are multiple
                       bodies by looking at the solid Bodies folder near the top of the tree and expanding the folder.

