
Page 228 - The Unofficial Guide to Lego Mindstorms Robots
P. 228
217
Cut Wire
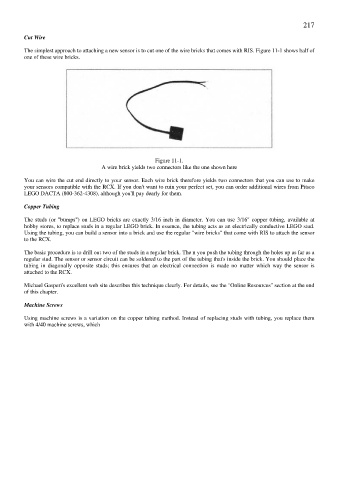
The simplest approach to attaching a new sensor is to cut one of the wire bricks that comes with RIS. Figure 11-1 shows half of
one of these wire bricks.
Figure 11-1.
A wire brick yields two connectors like the one shown here
You can wire the cut end directly to your sensor. Each wire brick therefore yields two connectors that you can use to make
your sensors compatible with the RCX. If you don't want to ruin your perfect set, you can order additional wires from Pitsco
LEGO DACTA (800-362-4308), although you'll pay dearly for them.
Copper Tubing
The studs (or "bumps") on LEGO bricks are exactly 3/16 inch in diameter. You can use 3/16" copper tubing, available at
hobby stores, to replace studs in a regular LEGO brick. In essence, the tubing acts as an electrically conductive LEGO stud.
Using the tubing, you can build a sensor into a brick and use the regular "wire bricks" that come with RIS to attach the sensor
to the RCX.
The basic procedure is to drill out two of the studs in a regular brick. The n you push the tubing through the holes up as far as a
regular stud. The sensor or sensor circuit can be soldered to the part of the tubing that's inside the brick. You should place the
tubing in diagonally opposite studs; this ensures that an electrical connection is made no matter which way the sensor is
attached to the RCX.
Michael Gasperi's excellent web site describes this technique clearly. For details, see the "Online Resources" section at the end
of this chapter.
Machine Screws
Using machine screws is a variation on the copper tubing method. Instead of replacing studs with tubing, you replace them
with 4/40 machine screws, which