
Page 231 - The Unofficial Guide to Lego Mindstorms Robots
P. 231
220
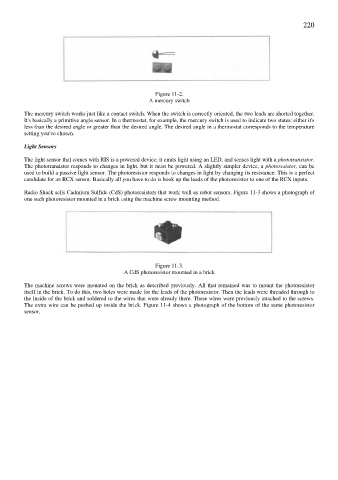
Figure 11-2.
A mercury switch
The mercury switch works just like a contact switch. When the switch is correctly oriented, the two leads are shorted together.
It's basically a primitive angle sensor. In a thermostat, for example, the mercury switch is used to indicate two states: either it's
less than the desired angle or greater than the desired angle. The desired angle in a thermostat corresponds to the temperature
setting you've chosen.
Light Sensors
The light sensor that comes with RIS is a powered device; it emits light using an LED, and senses light with a phototransistor.
The phototransistor responds to changes in light, but it must be powered. A slightly simpler device, a photoresistor, can be
used to build a passive light sensor. The photoresistor responds to changes in light by changing its resistance. This is a perfect
candidate for an RCX sensor. Basically all you have to do is hook up the leads of the photoresistor to one of the RCX inputs.
Radio Shack sells Cadmium Sulfide (CdS) photoresistors that work well as robot sensors. Figure 11-3 shows a photograph of
one such photoresistor mounted in a brick using the machine screw mounting method.
Figure 11-3.
A CdS photoresistor mounted in a brick
The machine screws were mounted on the brick as described previously. All that remained was to mount the photoresistor
itself in the brick. To do this, two holes were made for the leads of the photoresistor. Then the leads were threaded through to
the inside of the brick and soldered to the wires that were already there. These wires were previously attached to the screws.
The extra wire can be pushed up inside the brick. Figure 11-4 shows a photograph of the bottom of the same photoresistor
sensor.