
Page 258 - Amphibionics : Build Your Own Biologically Inspired Robot
P. 258
Amphibionics 06 3/24/03 9:02 AM Page 237
Chapter 6 / Crocobot: Build Your Own Robotic Crocodile
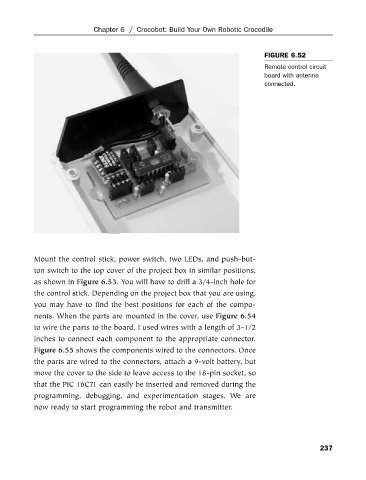
FIGURE 6.52
Remote control circuit
board with antenna
connected.
Mount the control stick, power switch, two LEDs, and push-but-
ton switch to the top cover of the project box in similar positions,
as shown in Figure 6.53. You will have to drill a 3/4-inch hole for
the control stick. Depending on the project box that you are using,
you may have to find the best positions for each of the compo-
nents. When the parts are mounted in the cover, use Figure 6.54
to wire the parts to the board. I used wires with a length of 3-1/2
inches to connect each component to the appropriate connector.
Figure 6.55 shows the components wired to the connectors. Once
the parts are wired to the connectors, attach a 9-volt battery, but
move the cover to the side to leave access to the 18-pin socket, so
that the PIC 16C71 can easily be inserted and removed during the
programming, debugging, and experimentation stages. We are
now ready to start programming the robot and transmitter.
237