
Page 209 - Build Your Own Quadcopter_ Power Up Your Designs with the Parallax Elev-8
P. 209
188 Bu il d Y o ur O w n Q u a d c o p t e r
One last thing I want to point out is some of the telemetry data being displayed by
the DX-8 LCD screen, as shown in Figure 7.25. The screen shows the LiPo-battery voltage at
12.0 V, the left rear motor rotating at 1293 r/min, and the ambient temperature at 71°. Note
that the r/min reading is incorrect for the reasons I previously stated in Chapter 6’s telemetry
section. It really should be closer to 4300 r/min.
Tilting Mechanism for a First-Person Viewer
The first thing you need to know about this project is that no software is required because it
uses only the standard R/C servo-control functionality. I have included this project to show
how very simple it is to implement a standard servo actuator to support an enhancement to
the Elev-8. The servo will tilt a video camera that is part of a first-person video (FPV) system,
which is really just a fancy way of saying that there is a video camera mounted on the
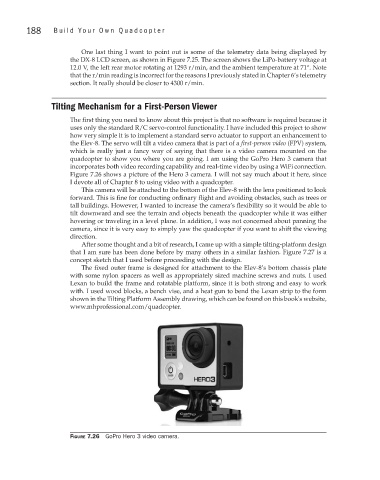
quadcopter to show you where you are going. I am using the GoPro Hero 3 camera that
incorporates both video recording capability and real-time video by using a WiFi connection.
Figure 7.26 shows a picture of the Hero 3 camera. I will not say much about it here, since
I devote all of Chapter 8 to using video with a quadcopter.
This camera will be attached to the bottom of the Elev-8 with the lens positioned to look
forward. This is fine for conducting ordinary flight and avoiding obstacles, such as trees or
tall buildings. However, I wanted to increase the camera’s flexibility so it would be able to
tilt downward and see the terrain and objects beneath the quadcopter while it was either
hovering or traveling in a level plane. In addition, I was not concerned about panning the
camera, since it is very easy to simply yaw the quadcopter if you want to shift the viewing
direction.
After some thought and a bit of research, I came up with a simple tilting-platform design
that I am sure has been done before by many others in a similar fashion. Figure 7.27 is a
concept sketch that I used before proceeding with the design.
The fixed outer frame is designed for attachment to the Elev-8’s bottom chassis plate
with some nylon spacers as well as appropriately sized machine screws and nuts. I used
Lexan to build the frame and rotatable platform, since it is both strong and easy to work
with. I used wood blocks, a bench vise, and a heat gun to bend the Lexan strip to the form
shown in the Tilting Platform Assembly drawing, which can be found on this book's website,
www.mhprofessional.com/quadcopter.
Figure 7.26 GoPro Hero 3 video camera.