
Page 75 - Build a Remote Controlled Robot
P. 75
42
CHAPTER THREE
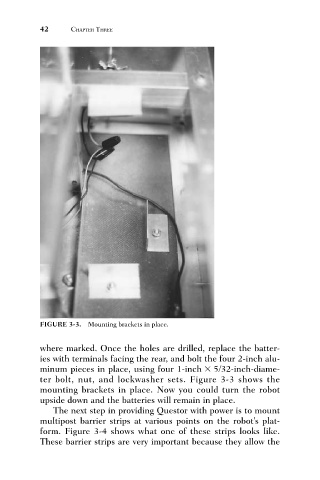
FIGURE 3-3. Mounting brackets in place.
where marked. Once the holes are drilled, replace the batter-
ies with terminals facing the rear, and bolt the four 2-inch alu-
minum pieces in place, using four 1-inch 5/32-inch-diame-
ter bolt, nut, and lockwasher sets. Figure 3-3 shows the
mounting brackets in place. Now you could turn the robot
upside down and the batteries will remain in place.
The next step in providing Questor with power is to mount
multipost barrier strips at various points on the robot’s plat-
form. Figure 3-4 shows what one of these strips looks like.
These barrier strips are very important because they allow the