
Page 189 - Enhancing CAD Drawings with Photoshop
P. 189
4386.book Page 173 Monday, November 15, 2004 3:27 PM
LAYER STYLE TECHNIQUES 173
uncheck Anti-aliased, and check Contiguous and All Layers on the Options bar. Fill the divid-
ing space between the walnut bar and the mahogany countertop with black.
2. Click the foreground color swatch in the toolbox and select a medium gray from the Color
Picker. Fill the doors in with medium gray.
3. Zoom in closer to the stove. Fill in the body of the stove with medium gray. Fill the background
of the stove’s burners with a darker gray and the knobs on the front of the stove with black. Fill
the edge of the sink and the faucet itself with light gray; however, do not fill the sinks them-
selves yet.
WARNING Sometimes fill spills out of enclosed areas and floods a larger space. If this happens, you
have to undo. The reason fill escapes an enclosure can be as simple as a single missing pixel in the
boundary. The fix is easy; track down the break in the boundary, and repair it with pixels using the
Pencil tool. Be careful to repair a broken boundary on the same layer as the boundary line work.
For a more flexible approach, apply flat colors using a layer style; that way you can change the
color more easily in the future if you change your mind.
4. Toggle off the visibility of the Drop Shadow effect on the Walnut layer. (We need to do this
before we can fill the barstools, because the shadow interferes with the barstool boundary.)
5. Create a new layer called Barstools. (Press Shift+Ctrl+N, name the layer, and give it a green
color.) Press D to set the default colors, and select the Paint Bucket tool from the toolbox. Fill
each barstool seat with black.
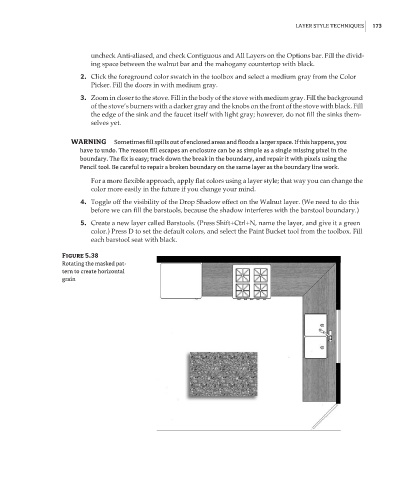
Figure 5.38
Rotating the masked pat-
tern to create horizontal
grain