
Page 284 - Enhancing CAD Drawings with Photoshop
P. 284
4386.book Page 268 Monday, November 15, 2004 3:27 PM
268 CHAPTER 8 ILLUSTRATING ARCHITECTURE
Now you have rendered the special channels and elements needed for masking in preparation for
painting. Just as with house painting, most of the effort goes into the prep work. You’ll integrate these
files into Photoshop and use them to mask off areas that you’ll eventually paint.
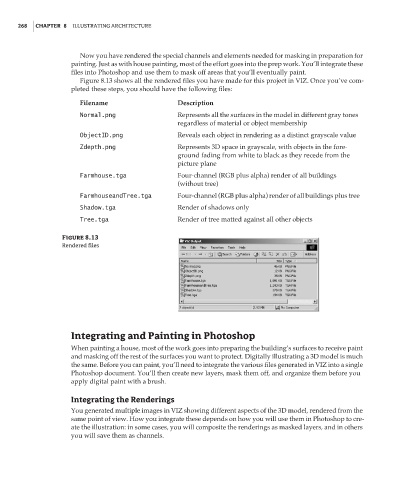
Figure 8.13 shows all the rendered files you have made for this project in VIZ. Once you’ve com-
pleted these steps, you should have the following files:
Filename Description
Normal.png Represents all the surfaces in the model in different gray tones
regardless of material or object membership
ObjectID.png Reveals each object in rendering as a distinct grayscale value
Zdepth.png Represents 3D space in grayscale, with objects in the fore-
ground fading from white to black as they recede from the
picture plane
Farmhouse.tga Four-channel (RGB plus alpha) render of all buildings
(without tree)
FarmhouseandTree.tga Four-channel (RGB plus alpha) render of all buildings plus tree
Shadow.tga Render of shadows only
Tree.tga Render of tree matted against all other objects
Figure 8.13
Rendered files
Integrating and Painting in Photoshop
When painting a house, most of the work goes into preparing the building’s surfaces to receive paint
and masking off the rest of the surfaces you want to protect. Digitally illustrating a 3D model is much
the same. Before you can paint, you’ll need to integrate the various files generated in VIZ into a single
Photoshop document. You’ll then create new layers, mask them off, and organize them before you
apply digital paint with a brush.
Integrating the Renderings
You generated multiple images in VIZ showing different aspects of the 3D model, rendered from the
same point of view. How you integrate these depends on how you will use them in Photoshop to cre-
ate the illustration: in some cases, you will composite the renderings as masked layers, and in others
you will save them as channels.