
Page 285 - Enhancing CAD Drawings with Photoshop
P. 285
4386.book Page 269 Monday, November 15, 2004 3:27 PM
INTEGRATING AND PAINTING IN PHOTOSHOP 269
Compositing Masked Layers
You can composite the Farmhouse, Tree, and Shadow renderings the way you learned in the last
chapter; with layer masks coming from their alpha channels. In addition, you will paste a photograph
of a cloudy sky into the background.
1. Launch Photoshop if it is not already open. Open the file Farmhouse.tga from your hard
drive. All the renderings are also provided in the VIZ Output subfolder within the Chapter 8
folder on the companion CD in case you are jumping in here.
2. Choose File Save As and change the Format drop-down list box to Photoshop in the Save As
dialog box. Save the file as Farmhouse.psd in the project folder on your hard drive. Make sure
Alpha Channels is checked in the Save Options group and then click Save. This file will be your
working illustration project document into which you’ll integrate other images.
TIP You can use the Convert Alpha To Layer Mask action recorded in Chapter 7 in place of steps 3
through 6. If you assigned the F12 function key to the action then, you can now use that shortcut to
execute the action.
3. Select the Channels palette. Click the Alpha 1 channel.
4. Click the Load Channel As Selection button at the bottom of the Channels palette to display the
marching ants. Click the RGB channel.
5. Select the Layers palette. Hold down the Alt key and double-click the Background layer to con-
vert it to a normal layer called Layer 0.
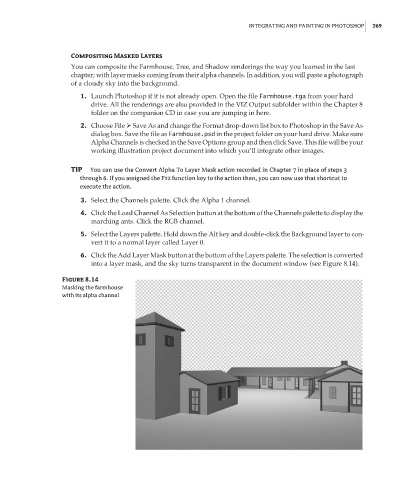
6. Click the Add Layer Mask button at the bottom of the Layers palette. The selection is converted
into a layer mask, and the sky turns transparent in the document window (see Figure 8.14).
Figure 8.14
Masking the farmhouse
with its alpha channel