
Page 286 - Enhancing CAD Drawings with Photoshop
P. 286
4386.book Page 270 Monday, November 15, 2004 3:27 PM
270 CHAPTER 8 ILLUSTRATING ARCHITECTURE
7. Rename Layer 0 to the name of the file (Farmhouse in this case). Click the Layer thumbnail to
select it and deselect the layer mask. This layer is ready to be integrated into your illustration
project.
Open the rendering of the isolated tree, and convert its alpha channel into a layer mask before
integrating it into the Photoshop document.
8. Open Tree.tga and repeat steps 3 through 7, renaming the resulting layer to Tree.
9. Drag the Tree layer from Tree.tga into Farmhouse.psd. Then use the Move tool (shortcut key V)
to drag the Tree layer until it snaps into position both horizontally and vertically.
10. Open Shadow.tga and repeat steps 3 through 7, renaming the resulting layer to Shadow.
11. Drag the Shadow layer from Shadow.tga into Farmhouse.psd. Then use the Move tool (short-
cut key V) to drag the Shadow layer until it snaps into position both horizontally and vertically
(see Figure 8.15).
Paste a photograph of a cloudy sky behind the other layers and transform it to fit the composition.
12. Close Shadow.tga and then open Clouds.jpg from your hard drive.
13. Press Ctrl+A and then Ctrl+C to select all the pixels and copy them to the Clipboard. Close
Clouds.jpg.
14. Create a new layer and rename it Sky. Drag this layer to the bottom of the Layers palette. Press
Ctrl+V to paste the contents of the Clipboard onto the Sky layer.
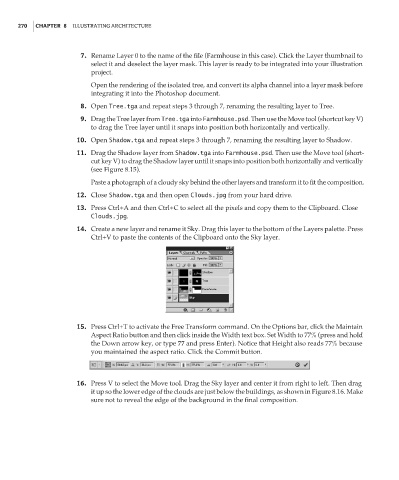
15. Press Ctrl+T to activate the Free Transform command. On the Options bar, click the Maintain
Aspect Ratio button and then click inside the Width text box. Set Width to 77% (press and hold
the Down arrow key, or type 77 and press Enter). Notice that Height also reads 77% because
you maintained the aspect ratio. Click the Commit button.
16. Press V to select the Move tool. Drag the Sky layer and center it from right to left. Then drag
it up so the lower edge of the clouds are just below the buildings, as shown in Figure 8.16. Make
sure not to reveal the edge of the background in the final composition.