
Page 320 - Enhancing CAD Drawings with Photoshop
P. 320
4386.book Page 304 Monday, November 15, 2004 3:27 PM
304 CHAPTER 9 SHOWING WORK TO YOUR CLIENTS
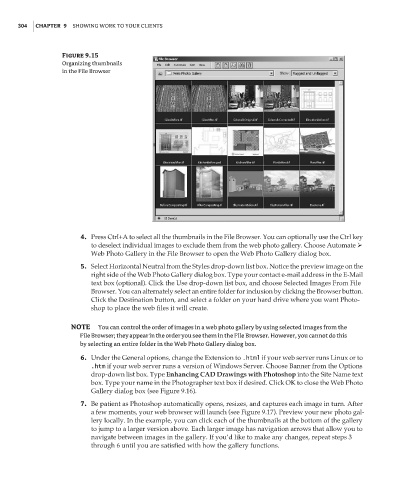
Figure 9.15
Organizing thumbnails
in the File Browser
4. Press Ctrl+A to select all the thumbnails in the File Browser. You can optionally use the Ctrl key
to deselect individual images to exclude them from the web photo gallery. Choose Automate
Web Photo Gallery in the File Browser to open the Web Photo Gallery dialog box.
5. Select Horizontal Neutral from the Styles drop-down list box. Notice the preview image on the
right side of the Web Photo Gallery dialog box. Type your contact e-mail address in the E-Mail
text box (optional). Click the Use drop-down list box, and choose Selected Images From File
Browser. You can alternately select an entire folder for inclusion by clicking the Browser button.
Click the Destination button, and select a folder on your hard drive where you want Photo-
shop to place the web files it will create.
NOTE You can control the order of images in a web photo gallery by using selected images from the
File Browser; they appear in the order you see them in the File Browser. However, you cannot do this
by selecting an entire folder in the Web Photo Gallery dialog box.
6. Under the General options, change the Extension to .html if your web server runs Linux or to
.htm if your web server runs a version of Windows Server. Choose Banner from the Options
drop-down list box. Type Enhancing CAD Drawings with Photoshop into the Site Name text
box. Type your name in the Photographer text box if desired. Click OK to close the Web Photo
Gallery dialog box (see Figure 9.16).
7. Be patient as Photoshop automatically opens, resizes, and captures each image in turn. After
a few moments, your web browser will launch (see Figure 9.17). Preview your new photo gal-
lery locally. In the example, you can click each of the thumbnails at the bottom of the gallery
to jump to a larger version above. Each larger image has navigation arrows that allow you to
navigate between images in the gallery. If you’d like to make any changes, repeat steps 3
through 6 until you are satisfied with how the gallery functions.