
Page 316 - Enhancing CAD Drawings with Photoshop
P. 316
4386.book Page 300 Monday, November 15, 2004 3:27 PM
300 CHAPTER 9 SHOWING WORK TO YOUR CLIENTS
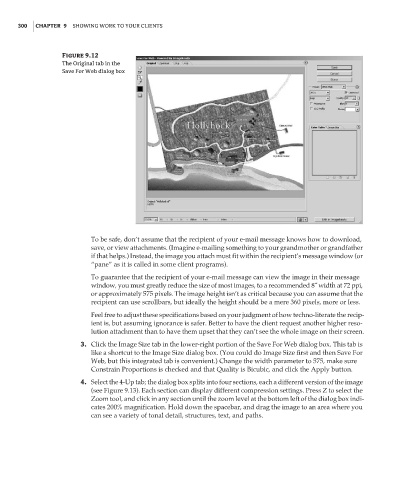
Figure 9.12
The Original tab in the
Save For Web dialog box
To be safe, don’t assume that the recipient of your e-mail message knows how to download,
save, or view attachments. (Imagine e-mailing something to your grandmother or grandfather
if that helps.) Instead, the image you attach must fit within the recipient’s message window (or
“pane” as it is called in some client programs).
To guarantee that the recipient of your e-mail message can view the image in their message
window, you must greatly reduce the size of most images, to a recommended 8˝ width at 72 ppi,
or approximately 575 pixels. The image height isn’t as critical because you can assume that the
recipient can use scrollbars, but ideally the height should be a mere 360 pixels, more or less.
Feel free to adjust these specifications based on your judgment of how techno-literate the recip-
ient is, but assuming ignorance is safer. Better to have the client request another higher reso-
lution attachment than to have them upset that they can’t see the whole image on their screen.
3. Click the Image Size tab in the lower-right portion of the Save For Web dialog box. This tab is
like a shortcut to the Image Size dialog box. (You could do Image Size first and then Save For
Web, but this integrated tab is convenient.) Change the width parameter to 575, make sure
Constrain Proportions is checked and that Quality is Bicubic, and click the Apply button.
4. Select the 4-Up tab; the dialog box splits into four sections, each a different version of the image
(see Figure 9.13). Each section can display different compression settings. Press Z to select the
Zoom tool, and click in any section until the zoom level at the bottom left of the dialog box indi-
cates 200% magnification. Hold down the spacebar, and drag the image to an area where you
can see a variety of tonal detail, structures, text, and paths.