
Page 312 - Enhancing CAD Drawings with Photoshop
P. 312
4386.book Page 296 Monday, November 15, 2004 3:27 PM
296 CHAPTER 9 SHOWING WORK TO YOUR CLIENTS
Figure 9.6
The small Page Setup
dialog box
NOTE Click the Network button in step 10 if your printer is a node on a local area network (LAN),
rather than physically connected to your computer.
11. Click the Properties button in the smaller Page Setup dialog box to open a dialog box that is spe-
cific to your print device. Figure 9.7 shows the EPSON Stylus C60 Series Properties dialog box.
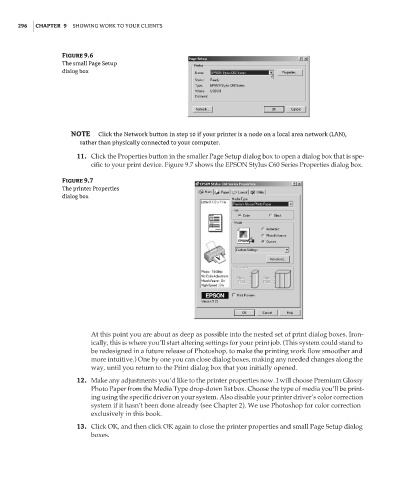
Figure 9.7
The printer Properties
dialog box
At this point you are about as deep as possible into the nested set of print dialog boxes. Iron-
ically, this is where you’ll start altering settings for your print job. (This system could stand to
be redesigned in a future release of Photoshop, to make the printing work flow smoother and
more intuitive.) One by one you can close dialog boxes, making any needed changes along the
way, until you return to the Print dialog box that you initially opened.
12. Make any adjustments you’d like to the printer properties now. I will choose Premium Glossy
Photo Paper from the Media Type drop-down list box. Choose the type of media you’ll be print-
ing using the specific driver on your system. Also disable your printer driver’s color correction
system if it hasn’t been done already (see Chapter 2). We use Photoshop for color correction
exclusively in this book.
13. Click OK, and then click OK again to close the printer properties and small Page Setup dialog
boxes.