
Page 326 - Enhancing CAD Drawings with Photoshop
P. 326
4386.book Page 310 Monday, November 15, 2004 3:27 PM
310 CHAPTER 9 SHOWING WORK TO YOUR CLIENTS
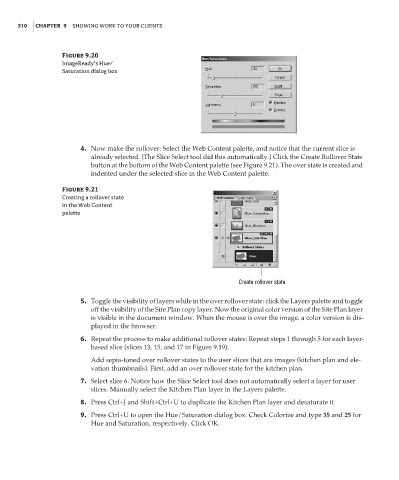
Figure 9.20
ImageReady’s Hue/
Saturation dialog box
4. Now make the rollover: Select the Web Content palette, and notice that the current slice is
already selected. (The Slice Select tool did this automatically.) Click the Create Rollover State
button at the bottom of the Web Content palette (see Figure 9.21). The over state is created and
indented under the selected slice in the Web Content palette.
Figure 9.21
Creating a rollover state
in the Web Content
palette
Create rollover state
5. Toggle the visibility of layers while in the over rollover state: click the Layers palette and toggle
off the visibility of the Site Plan copy layer. Now the original color version of the Site Plan layer
is visible in the document window. When the mouse is over the image, a color version is dis-
played in the browser.
6. Repeat the process to make additional rollover states: Repeat steps 1 through 5 for each layer-
based slice (slices 13, 15, and 17 in Figure 9.19).
Add sepia-toned over rollover states to the user slices that are images (kitchen plan and ele-
vation thumbnails). First, add an over rollover state for the kitchen plan.
7. Select slice 6. Notice how the Slice Select tool does not automatically select a layer for user
slices. Manually select the Kitchen Plan layer in the Layers palette.
8. Press Ctrl+J and Shift+Ctrl+U to duplicate the Kitchen Plan layer and desaturate it.
9. Press Ctrl+U to open the Hue/Saturation dialog box. Check Colorize and type 35 and 25 for
Hue and Saturation, respectively. Click OK.