
Page 331 - Enhancing CAD Drawings with Photoshop
P. 331
4386.book Page 315 Monday, November 15, 2004 3:27 PM
PRESENTING SLIDE SHOWS 315
7. Advance to the next slide by pressing Ctrl+Tab. Repeat this to advance to the next slide. Press
Ctrl+Tab at intervals you choose to set the speed of the slide show. When you get to the last
slide, pressing Ctrl+Tab again loops around to the first slide.
TIP You can advance slides in reverse order by pressing Shift+Ctrl+Tab.
When the slide show is over, you’ll need to know how to get Photoshop back to “normal.”
8. Press Tab to toggle the toolbox and palettes on. (Shift+Tab toggles only the palettes on and off.)
9. Press F, and then press F again for each image to return it to Standard Screen Mode. Leave all
the files open.
Acrobat PDF Presentation
If you have plenty of time to prepare for a client meeting, you might use an LCD projector or another
suitable viewing method. For such a slide show presentation, you can author an Acrobat PDF file that
displays images in Full Screen mode against a black background, complete with timed advance and
optional special effects transitions between slides. The PDF presentation offers the additional benefit
of encapsulating the entire slide show in a single file that you can electronically transfer (FTP) or pos-
sibly e-mail to a client (if it is small enough).
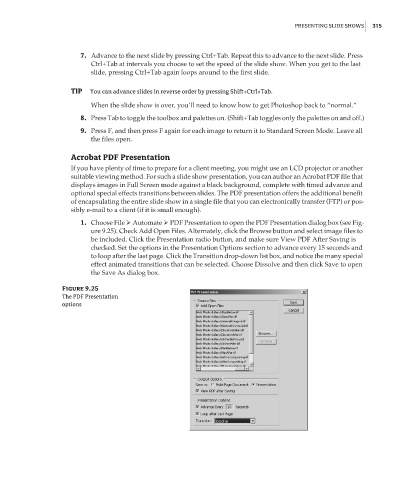
1. Choose File Automate PDF Presentation to open the PDF Presentation dialog box (see Fig-
ure 9.25). Check Add Open Files. Alternately, click the Browse button and select image files to
be included. Click the Presentation radio button, and make sure View PDF After Saving is
checked. Set the options in the Presentation Options section to advance every 15 seconds and
to loop after the last page. Click the Transition drop-down list box, and notice the many special
effect animated transitions that can be selected. Choose Dissolve and then click Save to open
the Save As dialog box.
Figure 9.25
The PDF Presentation
options