
Page 222 - Excel Progamming Weekend Crash Course
P. 222
k540629 ch16.qxd 9/2/03 9:34 AM Page 197
Session 16 — Creating Custom Toolbars 197
To Do this
Move a floating toolbar Point at its title bar and then drag to the new
location.
Close a docked toolbar Select View ➪ Toolbars from the menu and
then deselect the toolbar.
Resize a floating toolbar Point at an edge of the toolbar and then drag
to the desired size.
Creating a New Toolbar
You can create a new toolbar and add whatever buttons you want to it. These can be Excel’s
existing toolbar buttons, which are already linked to specific commands, as well as custom
buttons that are linked to VBA programs. Creating custom toolbars to be part of your
application can be a great help to users.
To create a new toolbar:
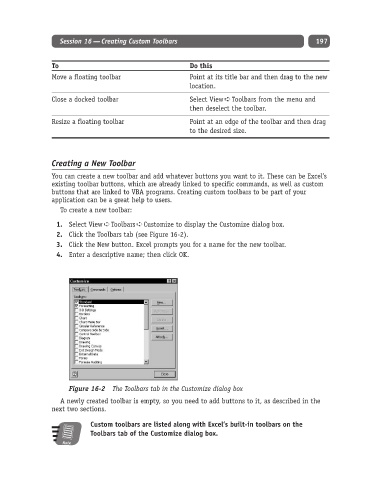
1. Select View ➪ Toolbars ➪ Customize to display the Customize dialog box.
2. Click the Toolbars tab (see Figure 16-2).
3. Click the New button. Excel prompts you for a name for the new toolbar.
4. Enter a descriptive name; then click OK.
Figure 16-2 The Toolbars tab in the Customize dialog box
A newly created toolbar is empty, so you need to add buttons to it, as described in the
next two sections.
Custom toolbars are listed along with Excel’s built-in toolbars on the
Toolbars tab of the Customize dialog box.
Note