
Page 223 - Excel Progamming Weekend Crash Course
P. 223
k540629 ch16.qxd 9/2/03 9:34 AM Page 198
198 Saturday Afternoon
Adding and Removing Toolbar Buttons
You can add buttons to and remove buttons from any Excel toolbar. You can also rearrange
existing buttons on a toolbar. There are two ways to do this. The first method involves copy-
ing or moving buttons between toolbars:
1. Make sure all the required toolbars are visible.
2. Select View ➪ Toolbars ➪ Customize to display the Customize dialog box. This puts
Excel into toolbar customization mode.
3. Drag a button from one toolbar to another. If you want to move the button, drag
the button and drop it in its new location. To copy, hold down the Ctrl key while
dragging.
4. To move a button to a different position on the same toolbar, drag it to the new
position.
5. To remove a button from a toolbar, drag it off the toolbar and drop it anywhere but
on another toolbar (the worksheet, for example).
6. When finished, click the Close button to close the Customize dialog box.
The second method of adding buttons involves dragging them from the Customize dialog
box.
1. Make sure the toolbar(s) you want to customize are visible.
2. Select View ➪ Toolbars ➪ Customize to display the Customize dialog box.
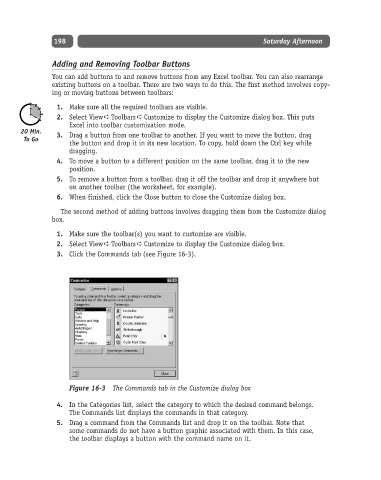
3. Click the Commands tab (see Figure 16-3).
Figure 16-3 The Commands tab in the Customize dialog box
4. In the Categories list, select the category to which the desired command belongs.
The Commands list displays the commands in that category.
5. Drag a command from the Commands list and drop it on the toolbar. Note that
some commands do not have a button graphic associated with them. In this case,
the toolbar displays a button with the command name on it.