
Page 31 - Excel Timesaving Techniques for Dummies
P. 31
03_574272 ch02.qxd 10/1/04 10:23 PM Page 16
16
Technique 2: Customizing the Excel Menus and Toolbars
4. To modify the position of an item or button, Excel adds the custom toolbar’s name to the
select it in the Rearrange Commands dialog Toolbars list box in the Customize dialog box
box and then click the Move Up or Move Down and displays a blank floating toolbar that shows
button until the item or button appears in only the first few letters of its name.
the desired position.
4. To add a tool to the new toolbar, select the
5. After you finish customizing your menu or tool- Commands tab in the Customize dialog box,
bar, click the Close button in the Rearrange click the desired command category in the
Commands dialog box and then click the Close Categories list box, scroll to the command’s
button in the Customize dialog box. icon in the Commands list box, and then drag
the command’s icon from the Customize dia-
log box to the new toolbar.
A Toolbar and Menu Excel automatically expands the toolbar to
accommodate the buttons you add.
of Your Own
5. Repeat Step 4 until you have added all the tools
you want to appear on your new toolbar.
Sometimes it makes more sense to create your own
toolbar or pull-down menu rather than fool around 6. If you want to group the buttons on the new
customizing the ones that come with Excel. By build- toolbar, locate the buttons in front of which
ing your own custom toolbar or menu, you can bring you want the separators to appear and then
together just the commands that you normally rely drag the buttons slightly to the right.
on. For example, you can concoct a Calculation tool-
bar or pull-down menu that contains only the options You can also reposition the buttons you add
to a new toolbar simply by dragging them to
that you frequently use in building your spreadsheet
their places.
formulas.
To create a custom toolbar, follow these steps: 7. When you have the new toolbar exactly the way
you want it, click the Close button to close the
1. Choose View➪Toolbars➪Customize to open the Customize dialog box.
Customize dialog box.
After creating a custom toolbar, be sure to test out its
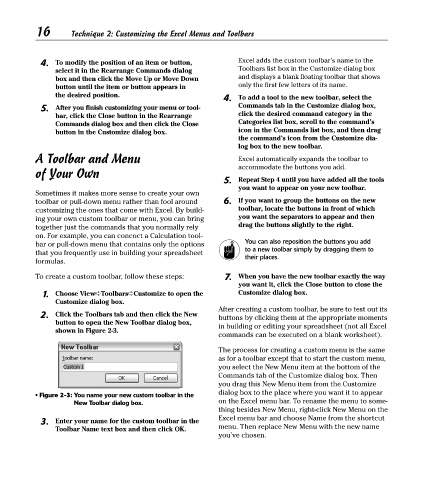
2. Click the Toolbars tab and then click the New buttons by clicking them at the appropriate moments
button to open the New Toolbar dialog box,
in building or editing your spreadsheet (not all Excel
shown in Figure 2-3.
commands can be executed on a blank worksheet).
The process for creating a custom menu is the same
as for a toolbar except that to start the custom menu,
you select the New Menu item at the bottom of the
Commands tab of the Customize dialog box. Then
you drag this New Menu item from the Customize
dialog box to the place where you want it to appear
• Figure 2-3: You name your new custom toolbar in the
New Toolbar dialog box. on the Excel menu bar. To rename the menu to some-
thing besides New Menu, right-click New Menu on the
3. Enter your name for the custom toolbar in the Excel menu bar and choose Name from the shortcut
Toolbar Name text box and then click OK. menu. Then replace New Menu with the new name
you’ve chosen.