
Page 110 - Make Your Own PCBs with EAGLE from Schematic Designs to Finished Boards
P. 110
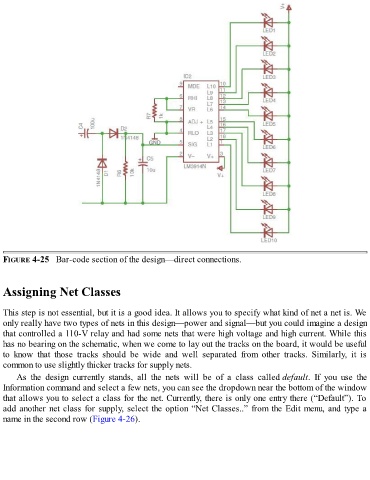
FIGURE 4-25   Bar-code section of the design—direct connections.


  Assigning Net Classes


  This step is not essential, but it is a good idea. It allows you to specify what kind of net a net is. We
  only really have two types of nets in this design—power and signal—but you could imagine a design
  that controlled a 110-V relay and had some nets that were high voltage and high current. While this
  has no bearing on the schematic, when we come to lay out the tracks on the board, it would be useful
  to  know  that  those  tracks  should  be  wide  and  well  separated  from  other  tracks.  Similarly,  it  is
  common to use slightly thicker tracks for supply nets.

      As  the  design  currently  stands,  all  the  nets  will  be  of  a  class  called default.  If  you  use  the
  Information command and select a few nets, you can see the dropdown near the bottom of the window
  that allows you to select a class for the net. Currently, there is only one entry there (“Default”). To

  add another net class for supply, select the option “Net Classes..” from the Edit menu, and type a
  name in the second row (Figure 4-26).