
Page 74 - Programming the Photon Getting Started With the Internet of Things
P. 74
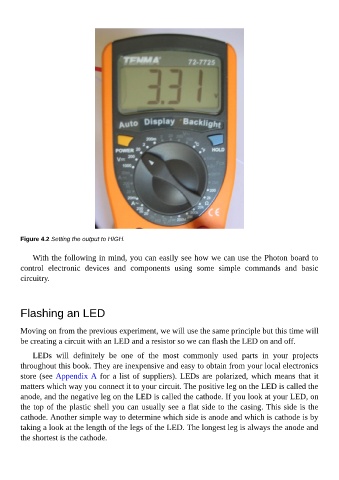
Figure 4.2 Setting the output to HIGH.


             With the following in mind, you can easily see how we can use the Photon board to
        control  electronic  devices  and  components  using  some  simple  commands  and  basic
        circuitry.


        Flashing an LED


        Moving on from the previous experiment, we will use the same principle but this time will
        be creating a circuit with an LED and a resistor so we can flash the LED on and off.

             LEDs  will  definitely  be  one  of  the  most  commonly  used  parts  in  your  projects

        throughout this book. They are inexpensive and easy to obtain from your local electronics
        store (see Appendix A for a list of suppliers). LEDs are polarized, which means that it
        matters which way you connect it to your circuit. The positive leg on the LED is called the
        anode, and the negative leg on the LED is called the cathode. If you look at your LED, on
        the top of the plastic shell you can usually see a flat side to the casing. This side is the

        cathode. Another simple way to determine which side is anode and which is cathode is by
        taking a look at the length of the legs of the LED. The longest leg is always the anode and
        the shortest is the cathode.