
Page 90 - Programming the Photon Getting Started With the Internet of Things
P. 90
// sets the value (range from 0 to 4095):
analogWrite(ledPin, fadeValue);
// wait for 30 milliseconds to see the dimming effect
delay(30);
}
// fade out from max to min in increments of 5 points:
for(int fadeValue = 4095 ; fadeValue >= 0; fadeValue --) {
// sets the value (range from 0 to 4095):
analogWrite(ledPin, fadeValue);
// wait for 30 milliseconds to see the dimming effect
delay(30);
}
}
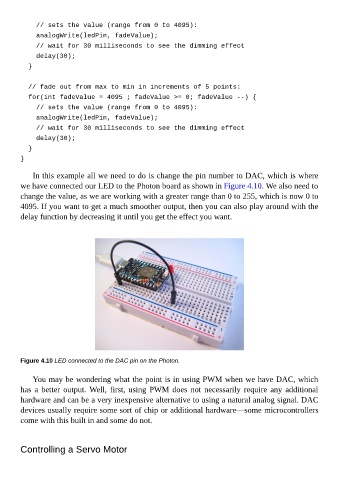
In this example all we need to do is change the pin number to DAC, which is where
we have connected our LED to the Photon board as shown in Figure 4.10. We also need to
change the value, as we are working with a greater range than 0 to 255, which is now 0 to
4095. If you want to get a much smoother output, then you can also play around with the
delay function by decreasing it until you get the effect you want.
Figure 4.10 LED connected to the DAC pin on the Photon.
You may be wondering what the point is in using PWM when we have DAC, which
has a better output. Well, first, using PWM does not necessarily require any additional
hardware and can be a very inexpensive alternative to using a natural analog signal. DAC
devices usually require some sort of chip or additional hardware—some microcontrollers
come with this built in and some do not.
Controlling a Servo Motor