
Page 92 - Programming the Photon Getting Started With the Internet of Things
P. 92
accordingly. Because the value we read from the potentiometer and the value we want to
write to the servo are very different, we can use a simple programming technique to scale
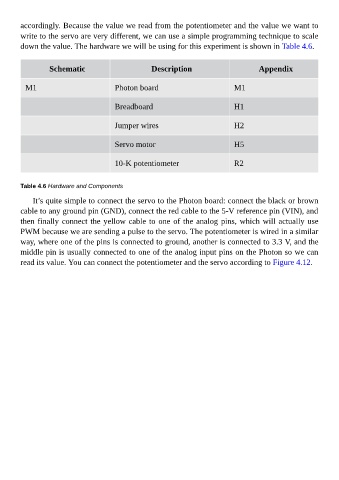
down the value. The hardware we will be using for this experiment is shown in Table 4.6.
Schematic Description Appendix
M1 Photon board M1
Breadboard H1
Jumper wires H2
Servo motor H5
10-K potentiometer R2
Table 4.6 Hardware and Components
It’s quite simple to connect the servo to the Photon board: connect the black or brown
cable to any ground pin (GND), connect the red cable to the 5-V reference pin (VIN), and
then finally connect the yellow cable to one of the analog pins, which will actually use
PWM because we are sending a pulse to the servo. The potentiometer is wired in a similar
way, where one of the pins is connected to ground, another is connected to 3.3 V, and the
middle pin is usually connected to one of the analog input pins on the Photon so we can
read its value. You can connect the potentiometer and the servo according to Figure 4.12.