
Page 93 - Programming the Photon Getting Started With the Internet of Things
P. 93
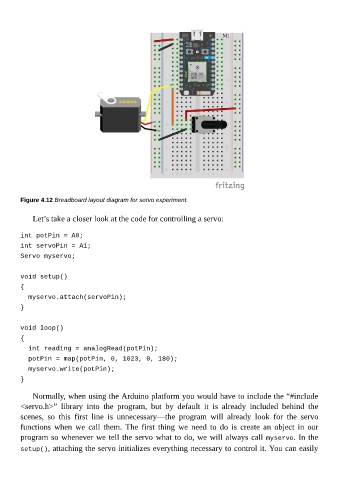
Figure 4.12 Breadboard layout diagram for servo experiment.


             Let’s take a closer look at the code for controlling a servo:


        int potPin = A0;
        int servoPin = A1;

        Servo myservo;

        void setup()
        {

          myservo.attach(servoPin);
        }

        void loop()

        {
          int reading = analogRead(potPin);
          potPin = map(potPin, 0, 1023, 0, 180);
          myservo.write(potPin);

        }

             Normally, when using the Arduino platform you would have to include the “#include
        <servo.h>”  library  into  the  program,  but  by  default  it  is  already  included  behind  the

        scenes,  so  this  first  line  is  unnecessary—the  program  will  already  look  for  the  servo
        functions  when  we  call  them.  The  first  thing  we  need  to  do  is  create  an  object  in  our
        program so whenever we tell the servo what to do, we will always call myservo. In the

        setup(), attaching the servo initializes everything necessary to control it. You can easily