Page 457 - Shigley's Mechanical Engineering Design
P. 457
bud29281_ch08_409-474.qxd  12/16/2009  7:11 pm  Page 432 pinnacle 203:MHDQ196:bud29281:0073529281:bud29281_pagefiles:


                 432    Mechanical Engineering Design
                                                                   6
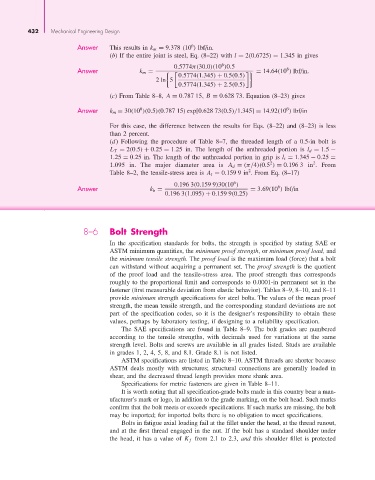
                                Answer    This results in k m = 9.378 (10 ) lbf/in.
                                          (b) If the entire joint is steel, Eq. (8–22) with l = 2(0.6725) = 1.345 in gives
                                                                            6
                                                              0.5774π(30.0)(10 )0.5
                                                                                                6
                                Answer             k m =                             	 = 14.64(10 ) lbf/in.
                                                        2ln 5  0.5774(1.345) + 0.5(0.5)
                                                               0.5774(1.345) + 2.5(0.5)
                                          (c) From Table 8–8,  A = 0.787 15,  B = 0.628 73. Equation (8–23) gives
                                                   6
                                                                                                6
                                Answer    k m  = 30(10 )(0.5)(0.787 15) exp[0.628 73(0.5)/1.345] = 14.92(10 ) lbf/in
                                          For this case, the difference between the results for Eqs. (8–22) and (8–23) is less
                                          than 2 percent.
                                          (d) Following the procedure of  Table 8–7, the threaded length of a 0.5-in bolt is
                                          L T = 2(0.5) + 0.25 = 1.25 in.  The length of the unthreaded portion is  l d = 1.5 −
                                          1.25 = 0.25 in. The length of the unthreaded portion in grip is l t = 1.345 − 0.25 =
                                                                                                         2
                                                                                           2
                                          1.095 in.  The major diameter area is  A d = (π/4)(0.5 ) = 0.196 3 in . From
                                                                                     2
                                          Table 8–2, the tensile-stress area is  A t = 0.159 9 in . From Eq. (8–17)
                                                                                6
                                                              0.196 3(0.159 9)30(10 )
                                                                                              6
                                Answer                k b =                          = 3.69(10 ) lbf/in
                                                           0.196 3(1.095) + 0.159 9(0.25)


                                  8–6     Bolt Strength
                                          In the specification standards for bolts, the strength is specified by stating SAE or
                                          ASTM minimum quantities, the minimum proof strength, or minimum proof load, and
                                          the minimum tensile strength. The proof load is the maximum load (force) that a bolt
                                          can withstand without acquiring a permanent set. The proof strength is the quotient
                                          of the proof load and the tensile-stress area.  The proof strength thus corresponds
                                          roughly to the proportional limit and corresponds to 0.0001-in permanent set in the
                                          fastener (first measurable deviation from elastic behavior). Tables 8–9, 8–10, and 8–11
                                          provide minimum strength specifications for steel bolts. The values of the mean proof
                                          strength, the mean tensile strength, and the corresponding standard deviations are not
                                          part of the specification codes, so it is the designer’s responsibility to obtain these
                                          values, perhaps by laboratory testing, if designing to a reliability specification.
                                              The SAE specifications are found in Table 8–9. The bolt grades are numbered
                                          according to the tensile strengths, with decimals used for variations at the same
                                          strength level. Bolts and screws are available in all grades listed. Studs are available
                                          in grades 1, 2, 4, 5, 8, and 8.1. Grade 8.1 is not listed.
                                              ASTM specifications are listed in Table 8–10. ASTM threads are shorter because
                                          ASTM deals mostly with structures; structural connections are generally loaded in
                                          shear, and the decreased thread length provides more shank area.
                                              Specifications for metric fasteners are given in Table 8–11.
                                              It is worth noting that all specification-grade bolts made in this country bear a man-
                                          ufacturer’s mark or logo, in addition to the grade marking, on the bolt head. Such marks
                                          confirm that the bolt meets or exceeds specifications. If such marks are missing, the bolt
                                          may be imported; for imported bolts there is no obligation to meet specifications.
                                              Bolts in fatigue axial loading fail at the fillet under the head, at the thread runout,
                                          and at the first thread engaged in the nut. If the bolt has a standard shoulder under
                                          the head, it has a value of K f from 2.1 to 2.3, and this shoulder fillet is protected

