Page 219 - The Handbook for Quality Management a Complete Guide to Operational Excellence
P. 219

206     P r o c e s s   C o n t r o l                                                                                                                           Q u a n t i f y i n g   P r o c e s s   Va r i a t i o n    207


                                   assure that 0.1 percent or less defective will be produced. A value of +4
                                   is generally desired to allow some room for process drift.
                                   Z  The Z  index measures the process location relative to its standard
                                    L
                                           L
                                   deviation and the lower requirement. If the distribution is normal, the
                                   value of Z  can be used to determine the percentage above the upper
                                            L
                                   requirement by using the table in Appendix 2. In general, the bigger Z
                                                                                                   L
                                   is, the better. A value of at least +3 is required to ensure that 0.1 percent
                                   or less defective will be produced. A value of +4 is generally desired to
                                   allow some room for process drift.
                                   Z MIN  The value of Z MIN  is simply the smaller of the Z  or the Z  values.
                                                                                   L
                                                                                           U
                                   It is used in computing C .
                                                          PK
                                   C  The value of C  is simply Z MIN  divided by 3. Since the smallest
                                                     PK
                                    PK
                                   value represents the nearest specification, the value of C  tells you if
                                                                                       PK
                                   the process is truly capable of meeting requirements. A C  of at least
                                                                                        PK
                                   +1 is required, and +1.33 is preferred. Note that C  is closely related to
                                                                                PK
                                   C , and that the difference between C  and C  represents the potential
                                    P
                                                                     PK
                                                                            P
                                   gain to be had from centering the process.
                                   C  A C  of at least 1 is required, and 1.33 is preferred. C  is closely
                                          PM
                                                                                         PM
                                    PM
                                   related to C . The difference represents the potential gain to be obtained
                                             P
                                   by moving the process mean closer to the target. Unlike C , the target
                                                                                        PK
                                   need not be the center of the specification range.
                                   For example, assume that a process is in statistical control based on
                                an X and R chart with subgroups of 5. The grand average (or centerline
                                of the X chart) is calculated as 0.99832, and the average range (or center-
                                line of the R chart) is calculated as 0.02205. From the table of d  values
                                                                                            2
                                (Appendix 1), we find d  is 2.326 for subgroups of 5. Thus, using the equa-
                                                     2
                                tion above for calculating the process standard deviation using the Range
                                chart method:
                                                            . 0 02205
                                                        ˆ σ =      =  . 0 00948
                                                             . 2 326
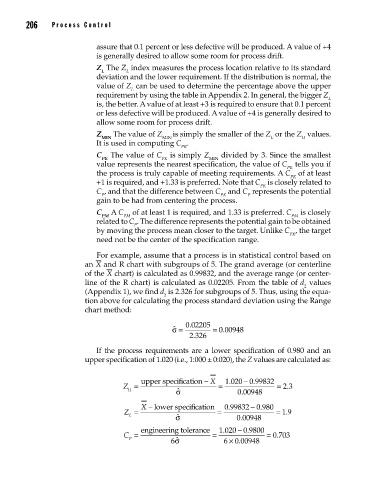
                                   If  the  process  requirements  are  a  lower  specification  of  0.980  and  an
                                upper specification of 1.020 (i.e., 1:000 ± 0:020), the Z values are calculated as:
                                                                             0
                                               upper specification  −  X  . 1 020 − .99832
                                          Z =                       =                =  2 3
                                                                                       .
                                           U             ˆ σ               . 0 000948
                                                                             −
                                               X  − lower specification  0 99832 − 0 980.
                                                                       .
                                          Z  =                      =               = 1 9
                                                                                       .
                                                                          .
                                            L            ˆ σ             0 00948
                                                                          −
                                               engineering tolerance  . 1 020 0 .9800
                                          C P  =       6 ˆ σ       =  6 ×  . 0 00948  =  . 0 703
                                                         ˆ


          09_Pyzdek_Ch09_p151-208.indd   206                                                           11/21/12   1:42 AM
   214   215   216   217   218   219   220   221   222   223   224