
Page 110 - 15 Dangerously Mad Projects for the Evil Genius
P. 110
Chapter 8 ■ Persistence-of-Vision Display 89
solder the lead in place, using the diagram from Installation on Windows
Figure 8-5 as a guide.
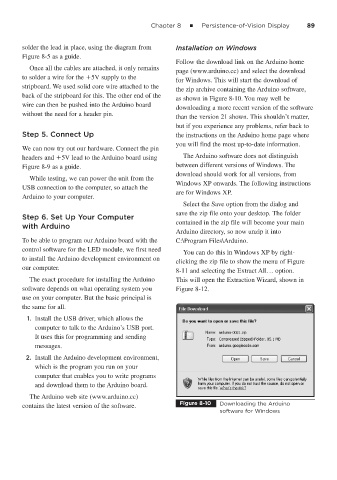
Follow the download link on the Arduino home
Once all the cables are attached, it only remains
page (www.arduino.cc) and select the download
to solder a wire for the 5V supply to the
for Windows. This will start the download of
stripboard. We used solid core wire attached to the
the zip archive containing the Arduino software,
back of the stripboard for this. The other end of the
as shown in Figure 8-10. You may well be
wire can then be pushed into the Arduino board
downloading a more recent version of the software
without the need for a header pin.
than the version 21 shown. This shouldn’t matter,
but if you experience any problems, refer back to
Step 5. Connect Up the instructions on the Arduino home page where
you will find the most up-to-date information.
We can now try out our hardware. Connect the pin
headers and 5V lead to the Arduino board using The Arduino software does not distinguish
Figure 8-9 as a guide. between different versions of Windows. The
download should work for all versions, from
While testing, we can power the unit from the
Windows XP onwards. The following instructions
USB connection to the computer, so attach the
are for Windows XP.
Arduino to your computer.
Select the Save option from the dialog and
save the zip file onto your desktop. The folder
Step 6. Set Up Your Computer
contained in the zip file will become your main
with Arduino
Arduino directory, so now unzip it into
To be able to program our Arduino board with the C:\Program Files\Arduino.
control software for the LED module, we first need
You can do this in Windows XP by right-
to install the Arduino development environment on
clicking the zip file to show the menu of Figure
our computer.
8-11 and selecting the Extract All… option.
The exact procedure for installing the Arduino This will open the Extraction Wizard, shown in
software depends on what operating system you Figure 8-12.
use on your computer. But the basic principal is
the same for all.
1. Install the USB driver, which allows the
computer to talk to the Arduino’s USB port.
It uses this for programming and sending
messages.
2. Install the Arduino development environment,
which is the program you run on your
computer that enables you to write programs
and download them to the Arduino board.
The Arduino web site (www.arduino.cc)
Figure 8-10 Downloading the Arduino
contains the latest version of the software.
software for Windows