
Page 220 - 15 Dangerously Mad Projects for the Evil Genius
P. 220
196 15 Dangerously Mad Projects for the Evil Genius
something, so all we need to know is that if the
voltage at Vout rises above 2V, then we are within
120mm of hitting something, and we need to stop.
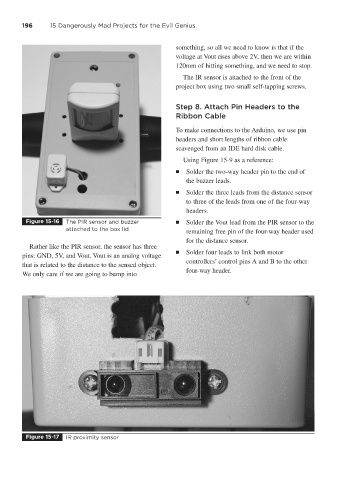
The IR sensor is attached to the front of the
project box using two small self-tapping screws.
Step 8. Attach Pin Headers to the
Ribbon Cable
To make connections to the Arduino, we use pin
headers and short lengths of ribbon cable
scavenged from an IDE hard disk cable.
Using Figure 15-9 as a reference:
■ Solder the two-way header pin to the end of
the buzzer leads.
■ Solder the three leads from the distance sensor
to three of the leads from one of the four-way
headers.
Figure 15-16 The PIR sensor and buzzer ■ Solder the Vout lead from the PIR sensor to the
attached to the box lid
remaining free pin of the four-way header used
for the distance sensor.
Rather like the PIR sensor, the sensor has three
■ Solder four leads to link both motor
pins: GND, 5V, and Vout. Vout is an analog voltage
controllers’ control pins A and B to the other
that is related to the distance to the sensed object.
four-way header.
We only care if we are going to bump into
Figure 15-17 IR proximity sensor