
Page 104 - Amphibionics : Build Your Own Biologically Inspired Robot
P. 104
Amphibionics 04 3/24/03 8:23 AM Page 83
Chapter 4 / Frogbotic: Build Your Own Robotic Frog
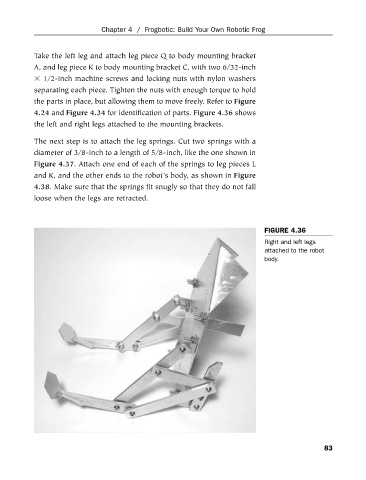
Take the left leg and attach leg piece Q to body mounting bracket
A, and leg piece K to body mounting bracket C, with two 6/32-inch
1/2-inch machine screws and locking nuts with nylon washers
separating each piece. Tighten the nuts with enough torque to hold
the parts in place, but allowing them to move freely. Refer to Figure
4.24 and Figure 4.34 for identification of parts. Figure 4.36 shows
the left and right legs attached to the mounting brackets.
The next step is to attach the leg springs. Cut two springs with a
diameter of 3/8-inch to a length of 5/8-inch, like the one shown in
Figure 4.37. Attach one end of each of the springs to leg pieces L
and K, and the other ends to the robot’s body, as shown in Figure
4.38. Make sure that the springs fit snugly so that they do not fall
loose when the legs are retracted.
FIGURE 4.36
Right and left legs
attached to the robot
body.
83