
Page 285 - Build Your Own Quadcopter_ Power Up Your Designs with the Parallax Elev-8
P. 285
264 Bu il d Y o ur O w n Q u a d c o p t e r
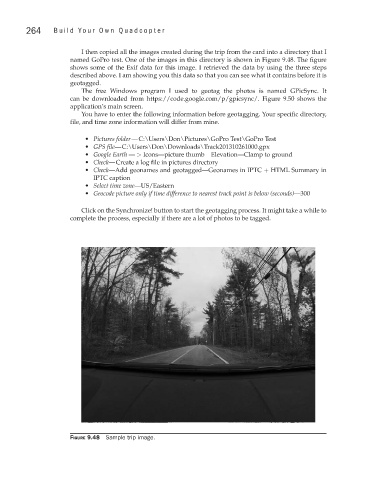
I then copied all the images created during the trip from the card into a directory that I
named GoPro test. One of the images in this directory is shown in Figure 9.48. The figure
shows some of the Exif data for this image. I retrieved the data by using the three steps
described above. I am showing you this data so that you can see what it contains before it is
geotagged.
The free Windows program I used to geotag the photos is named GPicSync. It
can be downloaded from https://code.google.com/p/gpicsync/. Figure 9.50 shows the
application’s main screen.
You have to enter the following information before geotagging. Your specific directory,
file, and time zone information will differ from mine.
• Pictures folder — C:\Users\Don\Pictures\GoPro Test\GoPro Test
• GPS file— C:\Users\Don\Downloads\Track201310261000.gpx
• Google Earth — > Icons—picture thumb Elevation—Clamp to ground
• Check— Create a log file in pictures directory
• Check—Add geonames and geotagged—Geonames in IPTC + HTML Summary in
IPTC caption
• Select time zone—US/Eastern
• Geocode picture only if time difference to nearest track point is below (seconds)—300
Click on the Synchronize! button to start the geotagging process. It might take a while to
complete the process, especially if there are a lot of photos to be tagged.
Figure 9.48 Sample trip image.