
Page 71 - Build Your Own Quadcopter_ Power Up Your Designs with the Parallax Elev-8
P. 71
50 Bu il d Y o ur O w n Q u a d c o p t e r
Figure 3.23 Cutting the LED lighting strip.
9. Measure and cut four pieces of ¾-in (1.9-cm) clear heat-shrink tubing. Each one
should be 4.5 in (11.5 cm) long.
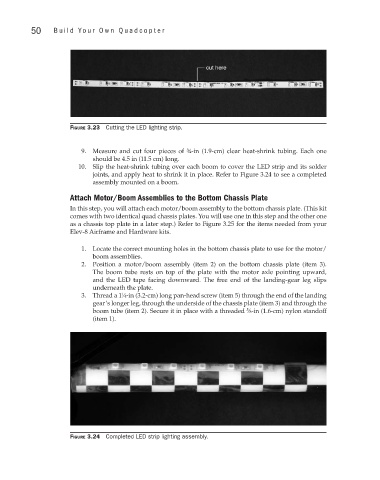
10. Slip the heat-shrink tubing over each boom to cover the LED strip and its solder
joints, and apply heat to shrink it in place. Refer to Figure 3.24 to see a completed
assembly mounted on a boom.
Attach Motor/Boom Assemblies to the Bottom Chassis Plate
In this step, you will attach each motor/boom assembly to the bottom chassis plate. (This kit
comes with two identical quad chassis plates. You will use one in this step and the other one
as a chassis top plate in a later step.) Refer to Figure 3.25 for the items needed from your
Elev-8 Airframe and Hardware kits.
1. Locate the correct mounting holes in the bottom chassis plate to use for the motor/
boom assemblies.
2. Position a motor/boom assembly (item 2) on the bottom chassis plate (item 3).
The boom tube rests on top of the plate with the motor axle pointing upward,
and the LED tape facing downward. The free end of the landing-gear leg slips
underneath the plate.
3. Thread a 1 ∕4-in (3.2-cm) long pan-head screw (item 5) through the end of the landing
1
gear’s longer leg, through the underside of the chassis plate (item 3) and through the
boom tube (item 2). Secure it in place with a threaded ∕8-in (1.6-cm) nylon standoff
5
(item 1).
Figure 3.24 Completed LED strip lighting assembly.