Page 133 - Enhancing CAD Drawings with Photoshop
P. 133
4386.book  Page 116  Monday, November 15, 2004  3:27 PM

      116  CHAPTER 4  YOU AND YOUR ENTOURAGE


                       9. Select the Edge Touchup tool (press T) and drag along the edges of the main trunk. The tree
                          bark looks harder. Click OK to accept all the changes you have made up to this point, and close
                          the Extract dialog box. Notice how the Background layer was automatically converted to Layer 0,
                          which now contains pixels of the foreground object surrounded by transparency.


                          Now that you have completed the extraction, you can do several things to improve the image
                          before it becomes part of your entourage. Whenever you are working on a layer with trans-
                          parency (such as Layer 0), create a Backdrop layer to help you see the fringes of the object.
                          It is wise to view your prospective entourage against both black and white backdrops alter-
                          nately as you are refining the extraction. Most images have bright or dark pixels that do not
                          belong with the foreground object; these pixels are visible only against a contrasting backdrop.
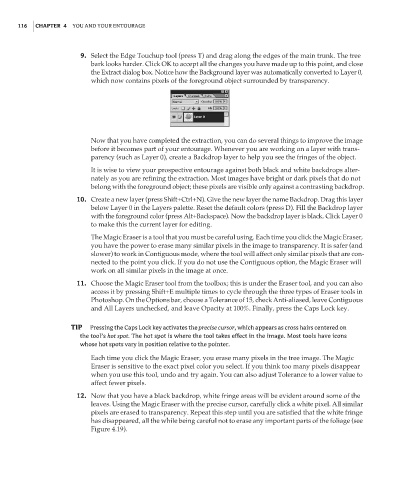
                      10. Create a new layer (press Shift+Ctrl+N). Give the new layer the name Backdrop. Drag this layer
                          below Layer 0 in the Layers palette. Reset the default colors (press D). Fill the Backdrop layer
                          with the foreground color (press Alt+Backspace). Now the backdrop layer is black. Click Layer 0
                          to make this the current layer for editing.

                          The Magic Eraser is a tool that you must be careful using. Each time you click the Magic Eraser,
                          you have the power to erase many similar pixels in the image to transparency. It is safer (and
                          slower) to work in Contiguous mode, where the tool will affect only similar pixels that are con-
                          nected to the point you click. If you do not use the Contiguous option, the Magic Eraser will
                          work on all similar pixels in the image at once.
                      11. Choose the Magic Eraser tool from the toolbox; this is under the Eraser tool, and you can also
                          access it by pressing Shift+E multiple times to cycle through the three types of Eraser tools in
                          Photoshop. On the Options bar, choose a Tolerance of 15, check Anti-aliased, leave Contiguous
                          and All Layers unchecked, and leave Opacity at 100%. Finally, press the Caps Lock key.

                    TIP  Pressing the Caps Lock key activates the precise cursor, which appears as cross hairs centered on
                       the tool’s hot spot. The hot spot is where the tool takes effect in the image. Most tools have icons
                       whose hot spots vary in position relative to the pointer.
                          Each time you click the Magic Eraser, you erase many pixels in the tree image. The Magic
                          Eraser is sensitive to the exact pixel color you select. If you think too many pixels disappear
                          when you use this tool, undo and try again. You can also adjust Tolerance to a lower value to
                          affect fewer pixels.
                      12. Now that you have a black backdrop, white fringe areas will be evident around some of the
                          leaves. Using the Magic Eraser with the precise cursor, carefully click a white pixel. All similar
                          pixels are erased to transparency. Repeat this step until you are satisfied that the white fringe
                          has disappeared, all the while being careful not to erase any important parts of the foliage (see
                          Figure 4.19).

