
Page 136 - Enhancing CAD Drawings with Photoshop
P. 136
4386.book Page 119 Monday, November 15, 2004 3:27 PM
EXTRACTING ENTOURAGE 119
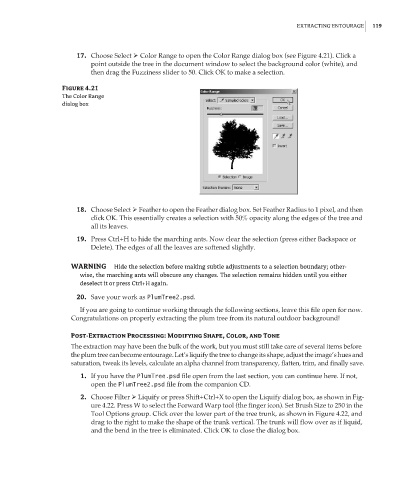
17. Choose Select Color Range to open the Color Range dialog box (see Figure 4.21). Click a
point outside the tree in the document window to select the background color (white), and
then drag the Fuzziness slider to 50. Click OK to make a selection.
Figure 4.21
The Color Range
dialog box
18. Choose Select Feather to open the Feather dialog box. Set Feather Radius to 1 pixel, and then
click OK. This essentially creates a selection with 50% opacity along the edges of the tree and
all its leaves.
19. Press Ctrl+H to hide the marching ants. Now clear the selection (press either Backspace or
Delete). The edges of all the leaves are softened slightly.
WARNING Hide the selection before making subtle adjustments to a selection boundary; other-
wise, the marching ants will obscure any changes. The selection remains hidden until you either
deselect it or press Ctrl+H again.
20. Save your work as PlumTree2.psd.
If you are going to continue working through the following sections, leave this file open for now.
Congratulations on properly extracting the plum tree from its natural outdoor background!
Post-Extraction Processing: Modifying Shape, Color, and Tone
The extraction may have been the bulk of the work, but you must still take care of several items before
the plum tree can become entourage. Let’s liquify the tree to change its shape, adjust the image’s hues and
saturation, tweak its levels, calculate an alpha channel from transparency, flatten, trim, and finally save.
1. If you have the PlumTree.psd file open from the last section, you can continue here. If not,
open the PlumTree2.psd file from the companion CD.
2. Choose Filter Liquify or press Shift+Ctrl+X to open the Liquify dialog box, as shown in Fig-
ure 4.22. Press W to select the Forward Warp tool (the finger icon). Set Brush Size to 250 in the
Tool Options group. Click over the lower part of the tree trunk, as shown in Figure 4.22, and
drag to the right to make the shape of the trunk vertical. The trunk will flow over as if liquid,
and the bend in the tree is eliminated. Click OK to close the dialog box.