
Page 135 - Enhancing CAD Drawings with Photoshop
P. 135
4386.book Page 118 Monday, November 15, 2004 3:27 PM
118 CHAPTER 4 YOU AND YOUR ENTOURAGE
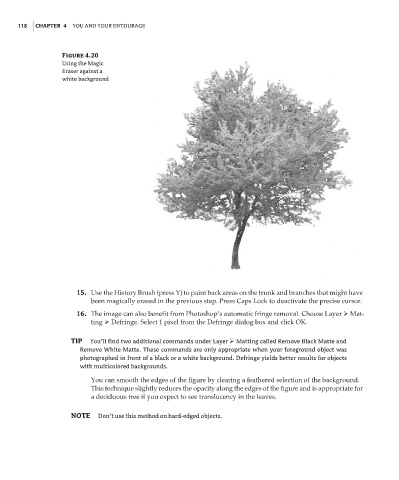
Figure 4.20
Using the Magic
Eraser against a
white background
15. Use the History Brush (press Y) to paint back areas on the trunk and branches that might have
been magically erased in the previous step. Press Caps Lock to deactivate the precise cursor.
16. The image can also benefit from Photoshop’s automatic fringe removal. Choose Layer Mat-
ting Defringe. Select 1 pixel from the Defringe dialog box and click OK.
TIP You’ll find two additional commands under Layer Matting called Remove Black Matte and
Remove White Matte. These commands are only appropriate when your foreground object was
photographed in front of a black or a white background. Defringe yields better results for objects
with multicolored backgrounds.
You can smooth the edges of the figure by clearing a feathered selection of the background.
This technique slightly reduces the opacity along the edges of the figure and is appropriate for
a deciduous tree if you expect to see translucency in the leaves.
NOTE Don’t use this method on hard-edged objects.