
Page 159 - Enhancing CAD Drawings with Photoshop
P. 159
4386.book Page 143 Monday, November 15, 2004 3:27 PM
PREPARING PLANS IN AUTOCAD 143
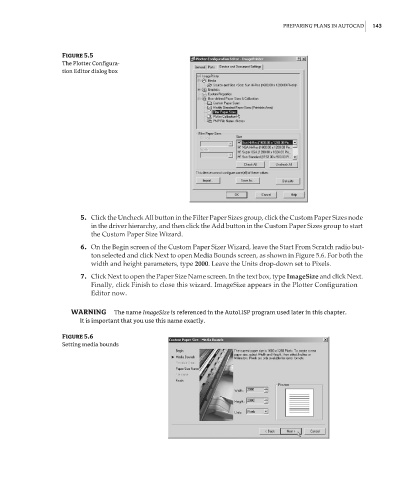
Figure 5.5
The Plotter Configura-
tion Editor dialog box
5. Click the Uncheck All button in the Filter Paper Sizes group, click the Custom Paper Sizes node
in the driver hierarchy, and then click the Add button in the Custom Paper Sizes group to start
the Custom Paper Size Wizard.
6. On the Begin screen of the Custom Paper Sizer Wizard, leave the Start From Scratch radio but-
ton selected and click Next to open Media Bounds screen, as shown in Figure 5.6. For both the
width and height parameters, type 2000. Leave the Units drop-down set to Pixels.
7. Click Next to open the Paper Size Name screen. In the text box, type ImageSize and click Next.
Finally, click Finish to close this wizard. ImageSize appears in the Plotter Configuration
Editor now.
WARNING The name ImageSize is referenced in the AutoLISP program used later in this chapter.
It is important that you use this name exactly.
Figure 5.6
Setting media bounds